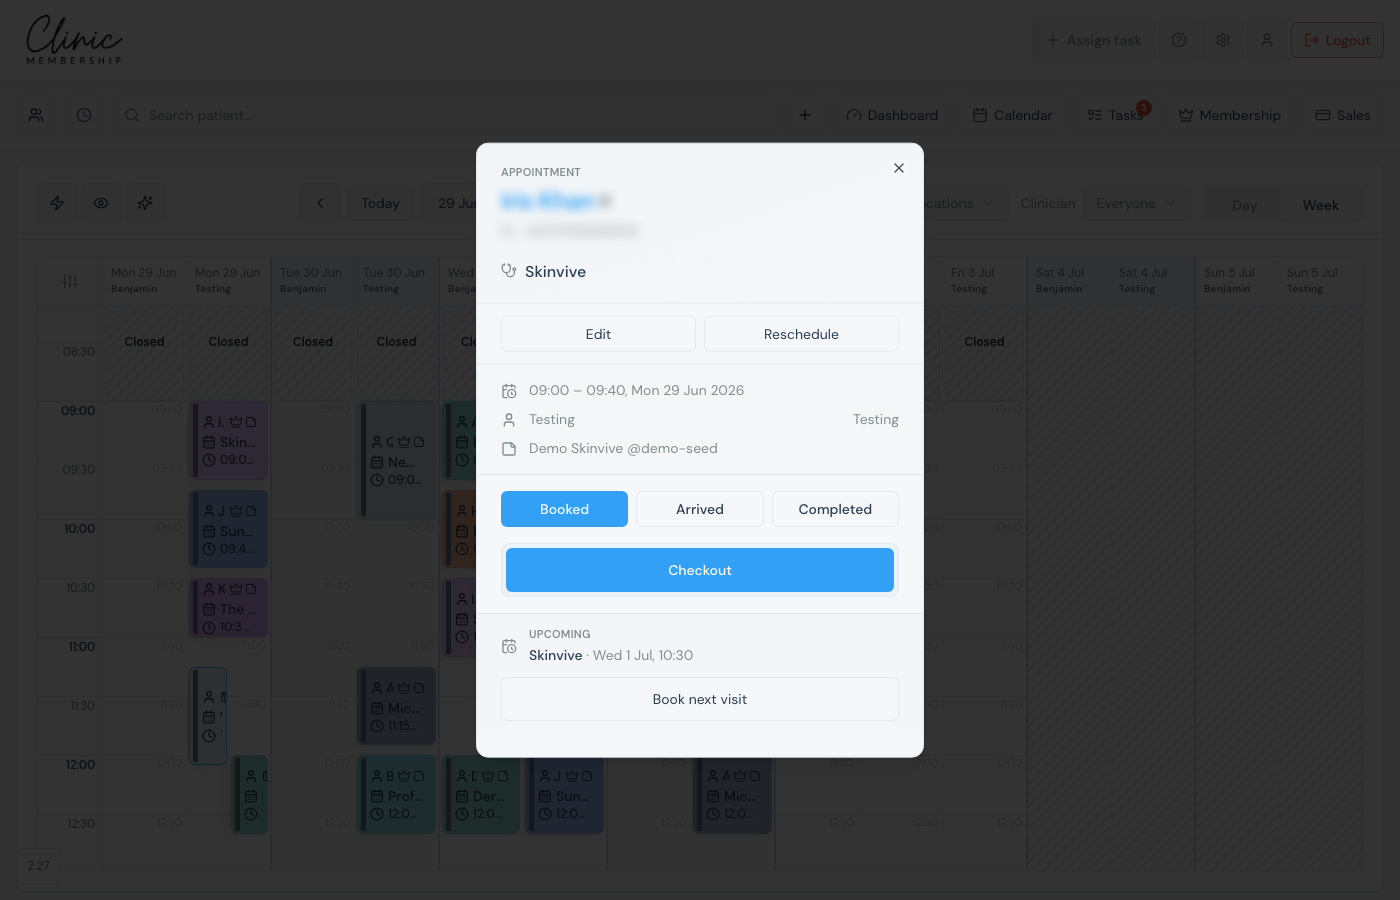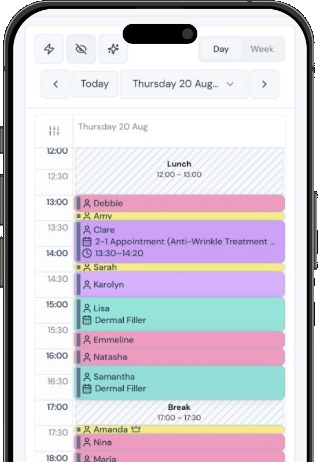


Click any appointment on Admin → Calendar to open the appointment card. From there you can update details, change status, finish the visit, or line up the next booking.
Edit an appointment
- Click the appointment tile.
- Click Edit.
- On Details, change service, clinician, location, start time, duration, or booking status.
- Use the Notes tab for internal reception notes.
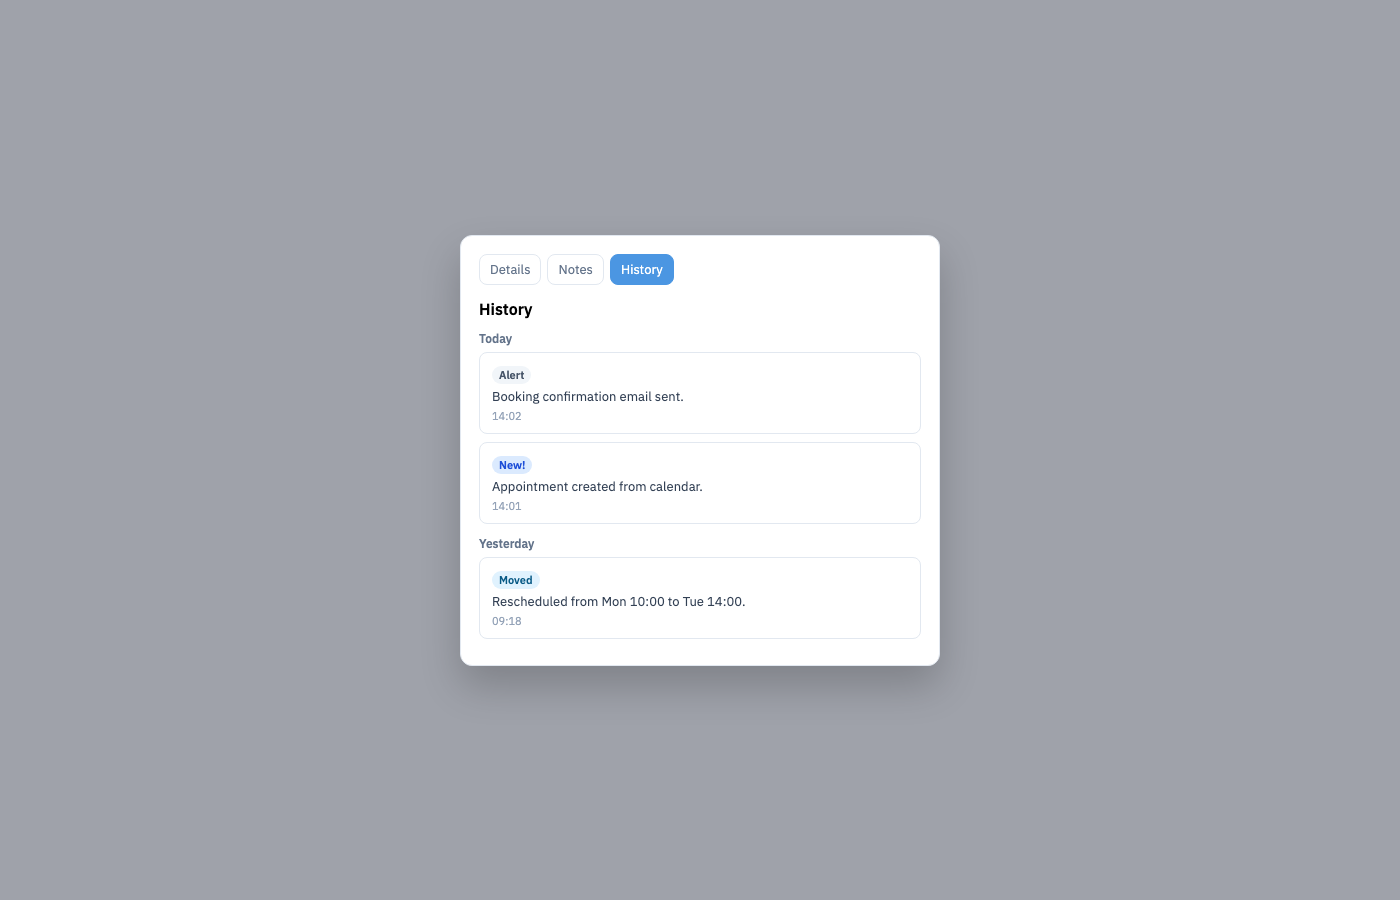
- Use the History tab to see when the visit was booked, moved, cancelled, or emailed.
- Click Save.
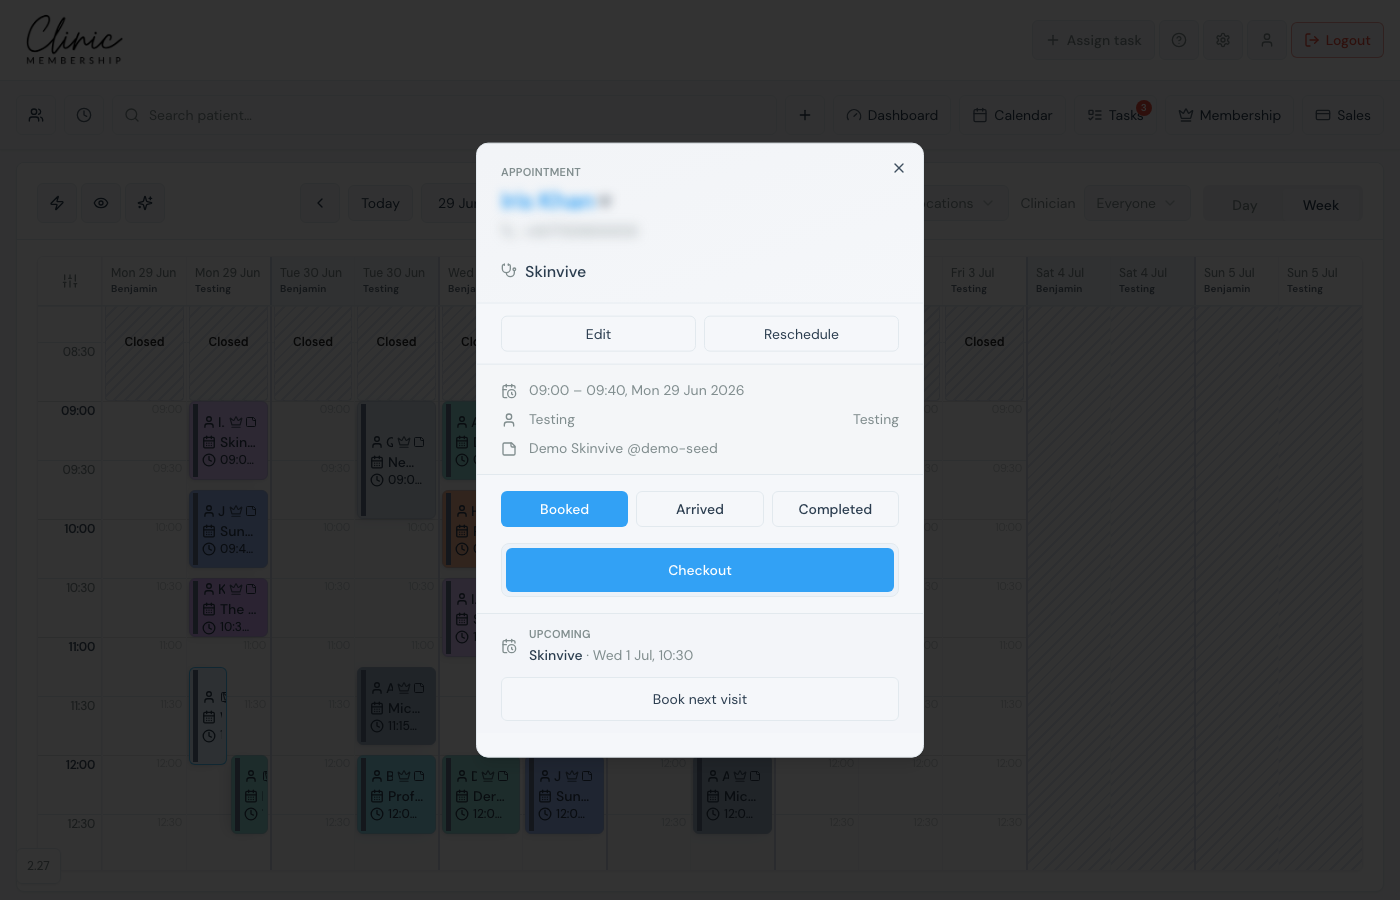
Appointment History
- Click the appointment tile → Edit.
- Open the History tab (it may show a count, for example History (3)).
- Read the timeline, created, rescheduled, cancelled, no-show, and patient emails such as confirmations or reminders.
Tip
If a save would email the patient (for example a time change), you can stop that email from Live activity within about 60 seconds, useful when you are still juggling the diary.
Cancel an appointment
- Click the appointment → Edit.
- Click Cancel (bottom of the panel), or set Booking status to Cancelled and Save.
- Confirm Cancel appointment: the patient receives a cancellation email unless you stop it from Live activity.
- Future visits are removed from the calendar; the record stays on the patient’s history.
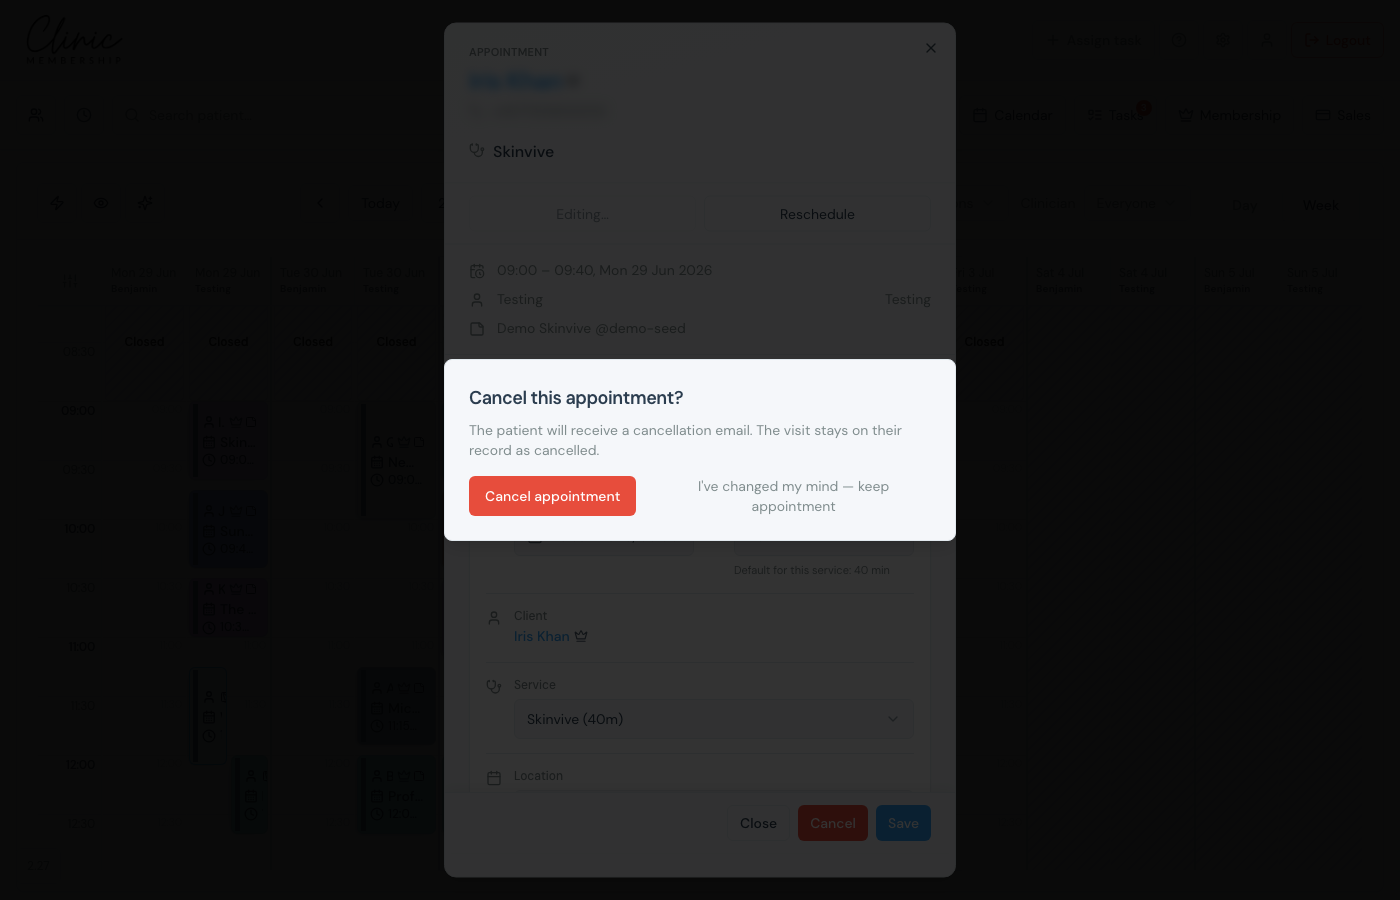
If a late cancellation fee applies (card on file and notice rules), you may be prompted to charge the fee or record the cancellation only. See Charge no-show fees for the same flow on no-shows.
Mark complete or checkout
- Click the appointment when the patient is leaving.
- Use Booked / Arrived / Completed for quick status, or click the large Complete or Checkout button.
- When Stripe is connected, Checkout opens Sales with the treatment ready to invoice and take payment.
- Without Stripe, Complete marks the visit done and can trigger aftercare or rebooking emails configured on the service.
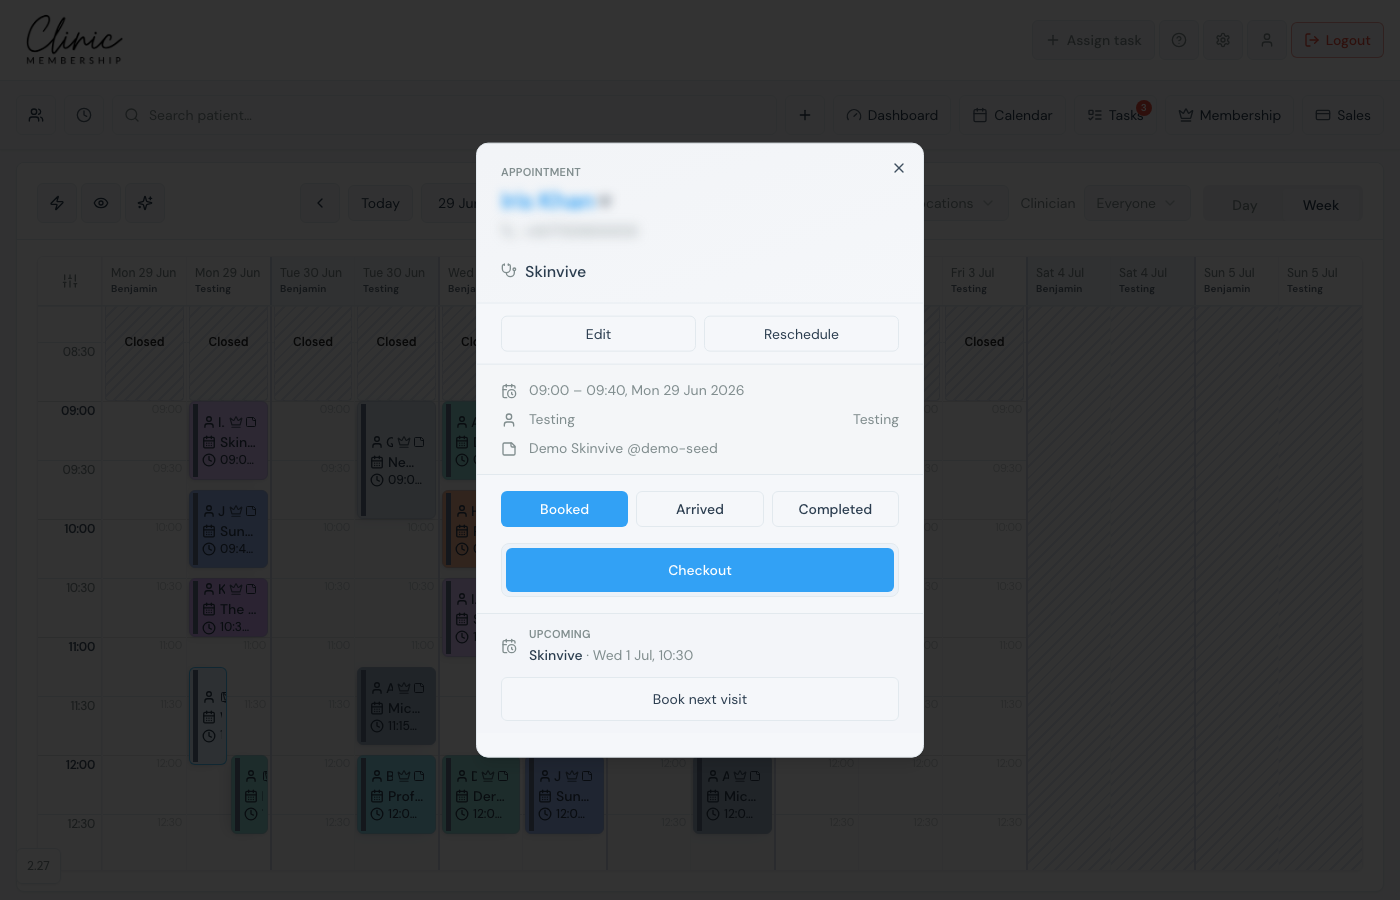
Book the next visit
At the bottom of the appointment card, click Book next visit. The calendar opens a new booking with the same patient pre-filled so reception can pick the follow-up slot straight away.