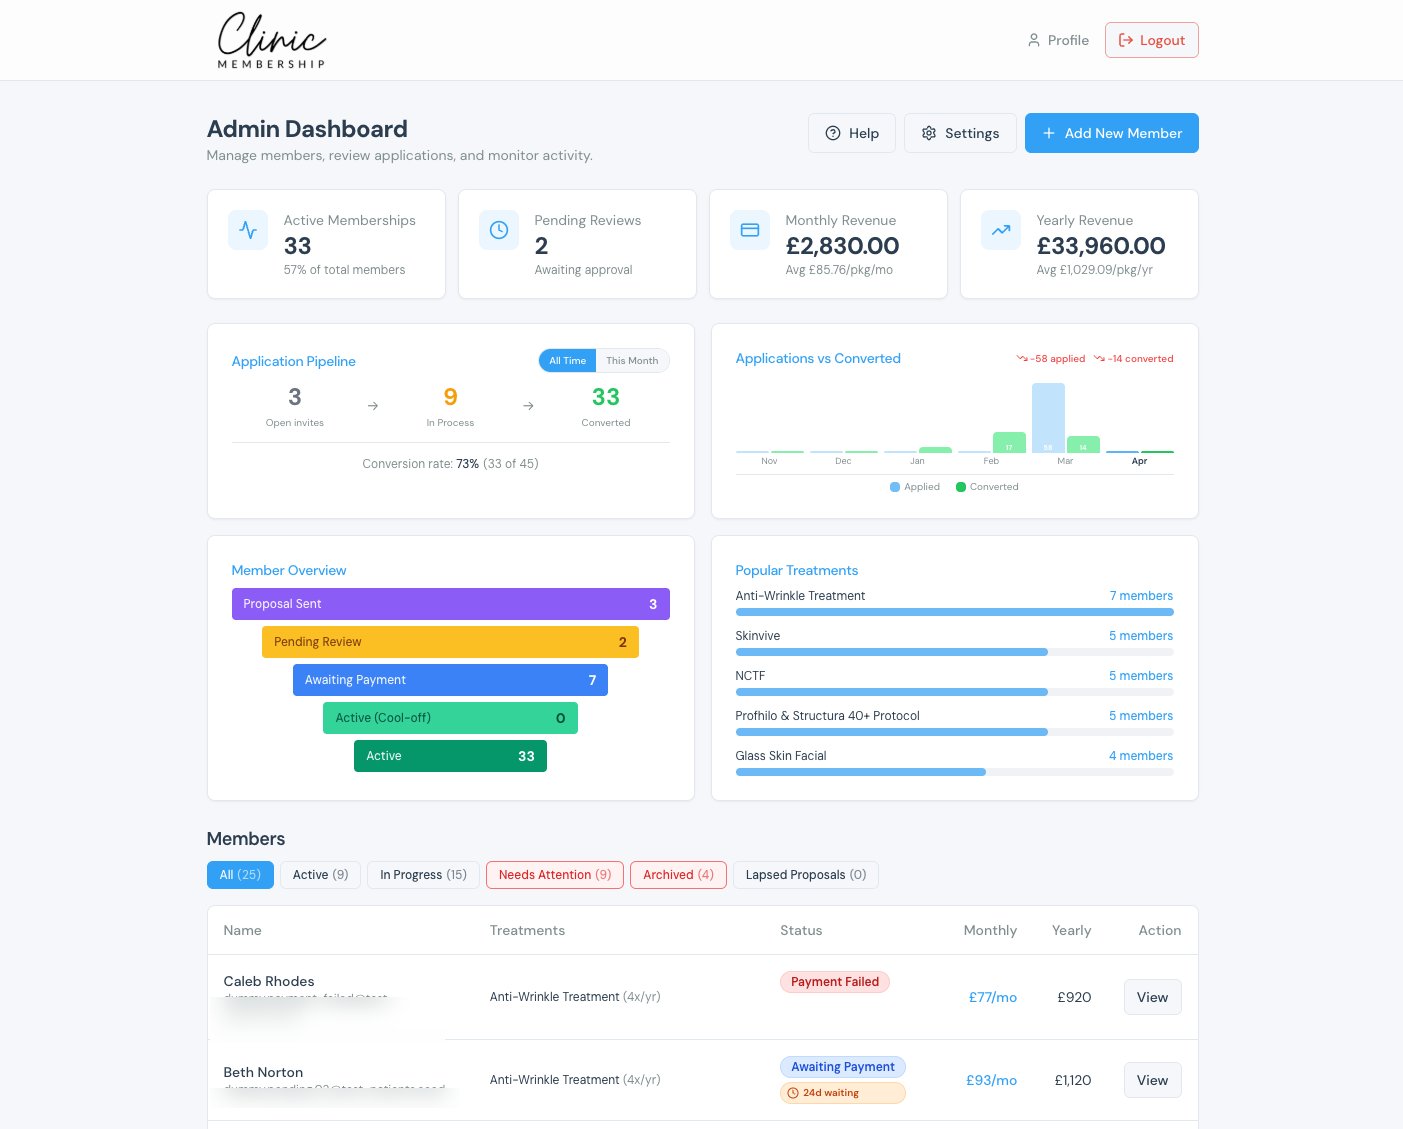


Clinic Membership sends emails for bookings, memberships, waitlists, vouchers, and more. Each template is ready to use on day one: your clinic name, links, and patient details are filled in automatically. You can change any subject or body when you want your own tone.
Find your email templates
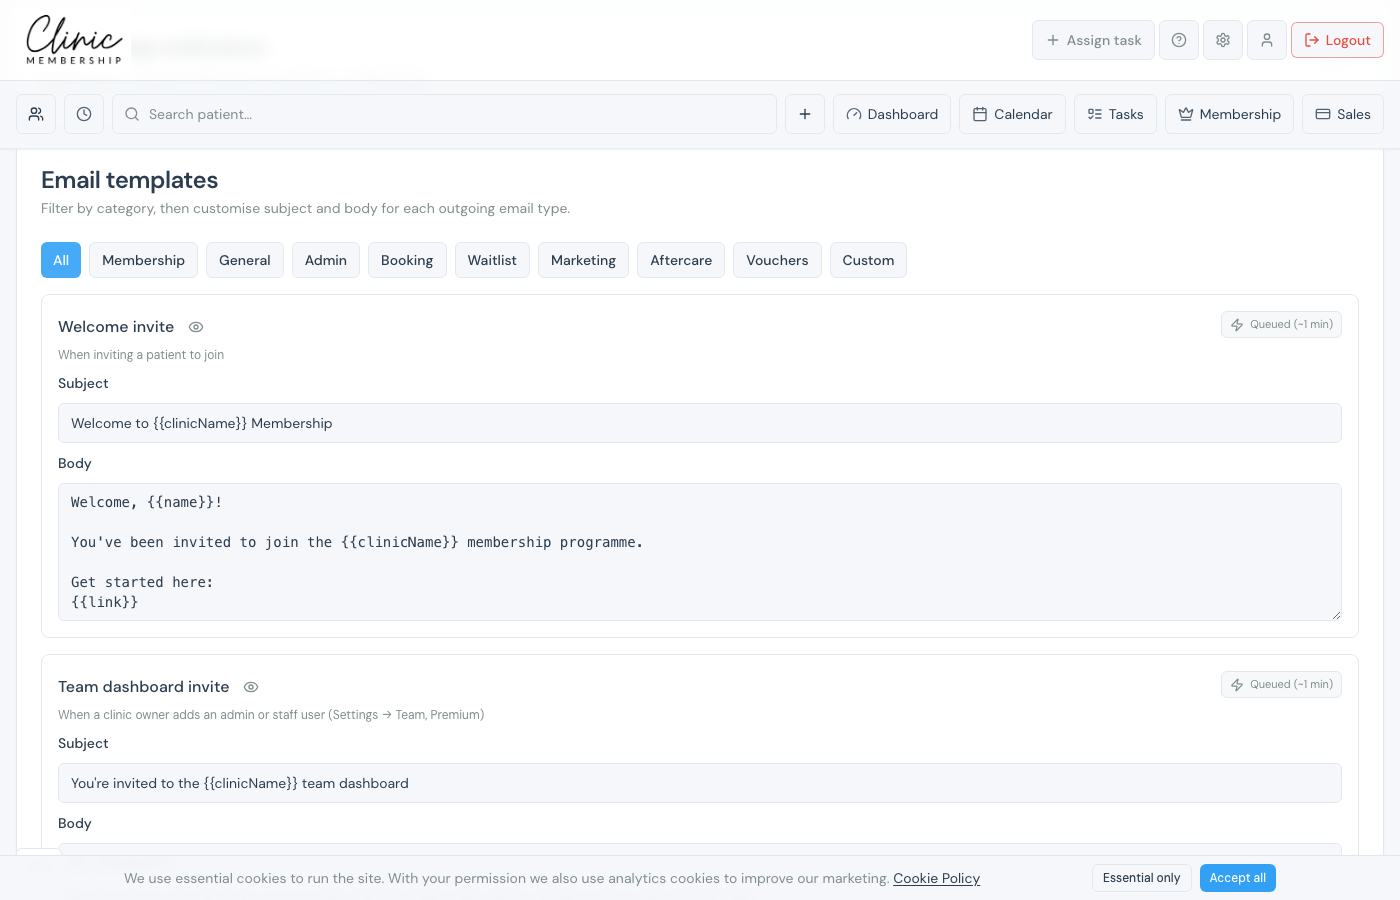
- Go to Settings → Communications.
- Scroll to Email templates.
- Use the category filters (All, Membership, Booking, Waitlist, Marketing, Aftercare, and others) to narrow the list.
- Click a template to edit the subject or body, or use the preview icon to see how it looks.
- Click Save settings at the bottom of the page when you change anything.
What is set up for you
You do not need to write emails from scratch. Booking covers confirmations, reminders, and cancellations. Membership covers invites and proposals. Waitlist covers new-patient intake. Marketing covers rebooking and review requests. Aftercare and Custom add treatment-specific follow-ups when you need them.
Location name and address in booking emails
On Booking confirmation, Appointment reminder, and Booking updated, you can include the appointment site when your clinic has more than one location:
- {{locationName}}: the location name.
- {{locationAddress}}: the address from Settings → Calendar → Locations.
- {{locationDirections}}: how to find this site, when Include directions is on.
- {{locationSection}}: a ready-made Location block with name, address, and directions when that toggle is on.
Note
These fill only when the clinic has two or more locations and the appointment has a site set. Otherwise they stay blank.
Class as marketing message
Review requests and custom automations can be marked as marketing so they honour each patient’s marketing opt-out.
- Review request: Settings → Communications → filter Marketing → open Review request → turn on Class as marketing message.
- Custom automations: filter Custom → edit the automation → tick Class as marketing message (the list shows a Marketing badge).
When that switch is on, patients who opted out of Marketing messages do not receive that email.
Tip
Placeholders like {{clinicName}} and {{patientName}} are replaced automatically when each email sends, keep them in the text unless you mean to remove that detail.
What happens next
Send appointment reminders
Adjust reminder timing and wording under the Booking filter.
Send rebooking reminders
Turn on rebooking per service, then tweak the email template.
Send aftercare emails
Set up aftercare emails by treatment.
Connect WhatsApp notifications
Optional WhatsApp channel on the same Communications page.