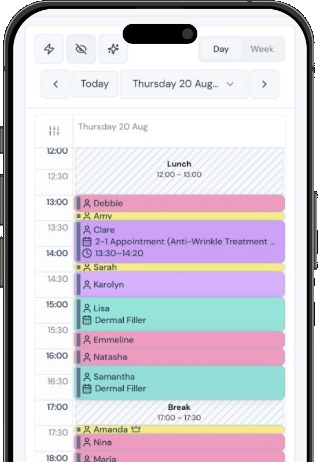


WhatsApp reminders sit alongside your email reminders. Patients opt in on their profile. You connect a WhatsApp Business number through Meta once, then turn on the message types you want in Communications settings.
Tip
We recommend connecting the number you already use in the WhatsApp Business app. Then if a patient replies to a reminder, the reply lands in your normal business WhatsApp inbox. You can create a separate number instead if you prefer, but replies will not appear on your day-to-day business WhatsApp.
Note
If your clinic also turns on SMS notifications, each patient picks one mobile channel for reminders (WhatsApp or SMS) never both. Staff can set this under Preferences on the patient card; patients can change it in their account. Email reminders still send as usual.
Turn on WhatsApp in Clinic Membership
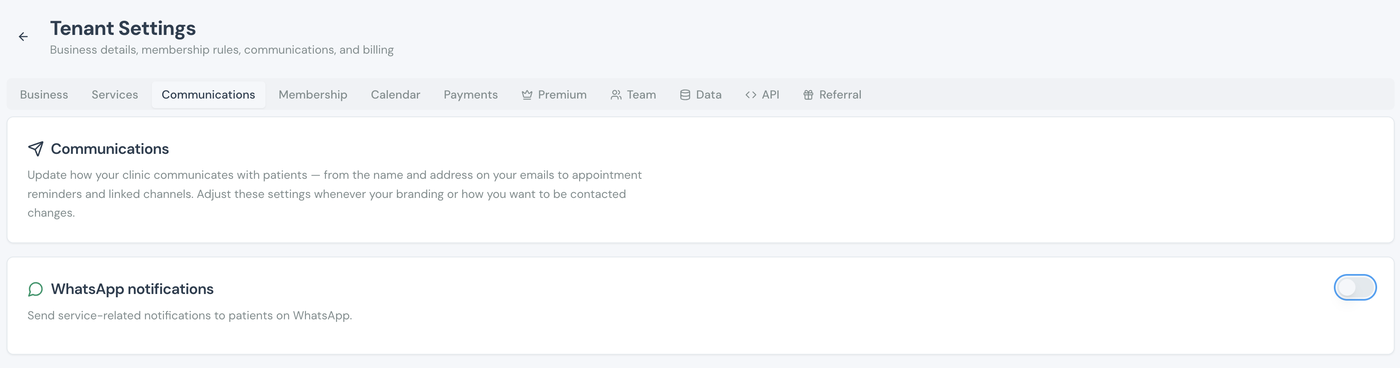
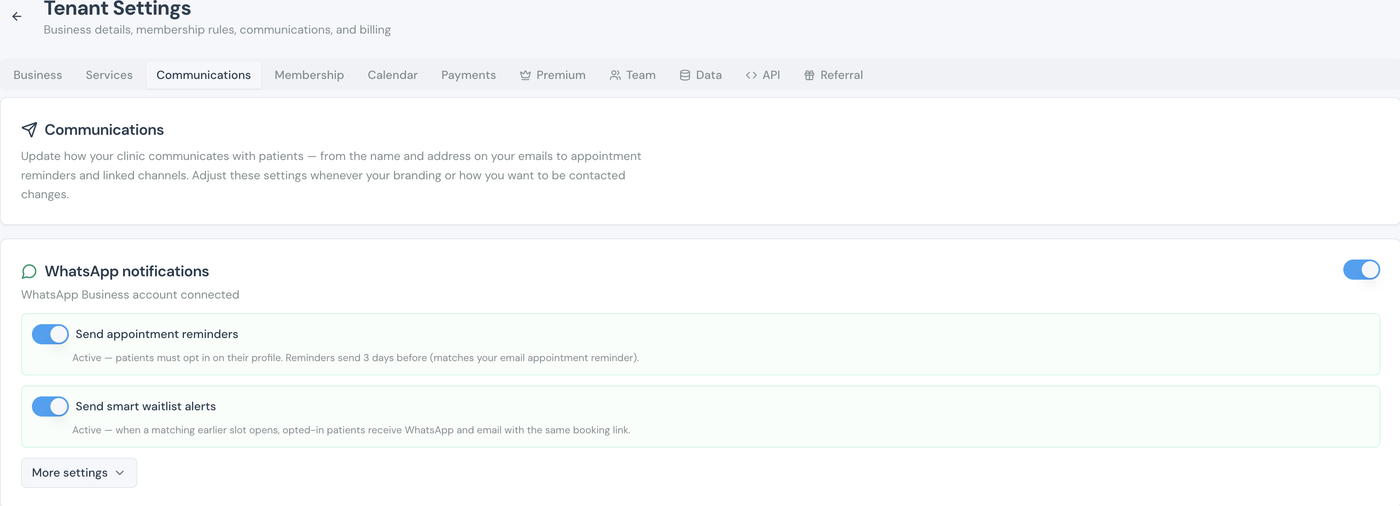
- Go to Settings → Communications.
- Find WhatsApp notifications.
- Switch the toggle on: the setup panel opens with the steps to connect.
Connect your WhatsApp Business app
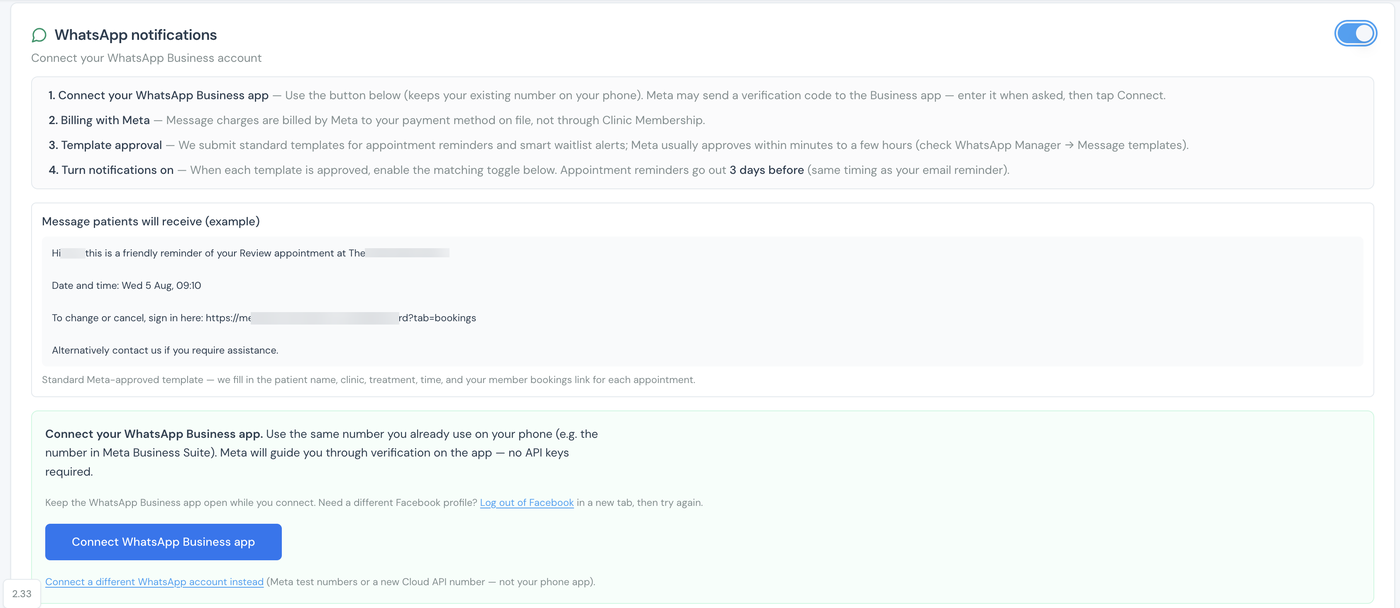
- Read the four on-screen steps (connect, Meta billing, template approval, turn notifications on).
- Keep the WhatsApp Business app open on your phone.
- Click Connect WhatsApp Business app.
Note
Message charges are billed by Meta to the payment method on your Meta account, not on your Clinic Membership invoice. There is also an advanced option to connect a different WhatsApp account (Meta test numbers or a new Cloud API number). Most clinics should use Connect WhatsApp Business app with their existing business number.
Complete the Meta connection
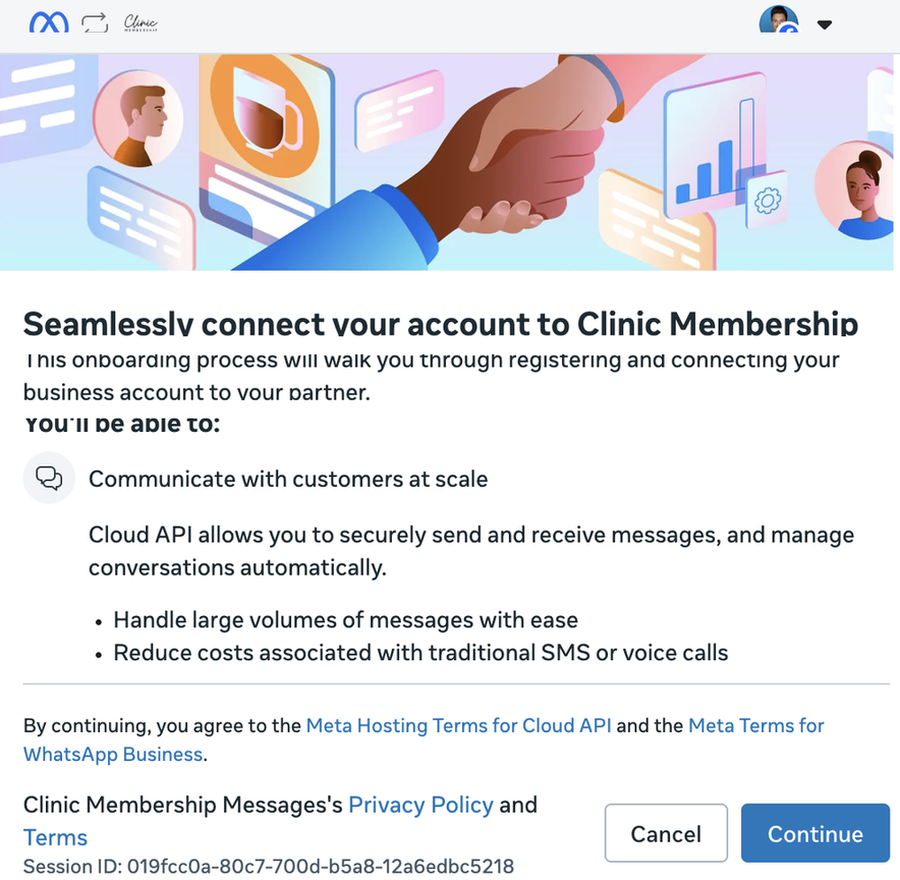
- On Meta’s intro screen, click Continue.
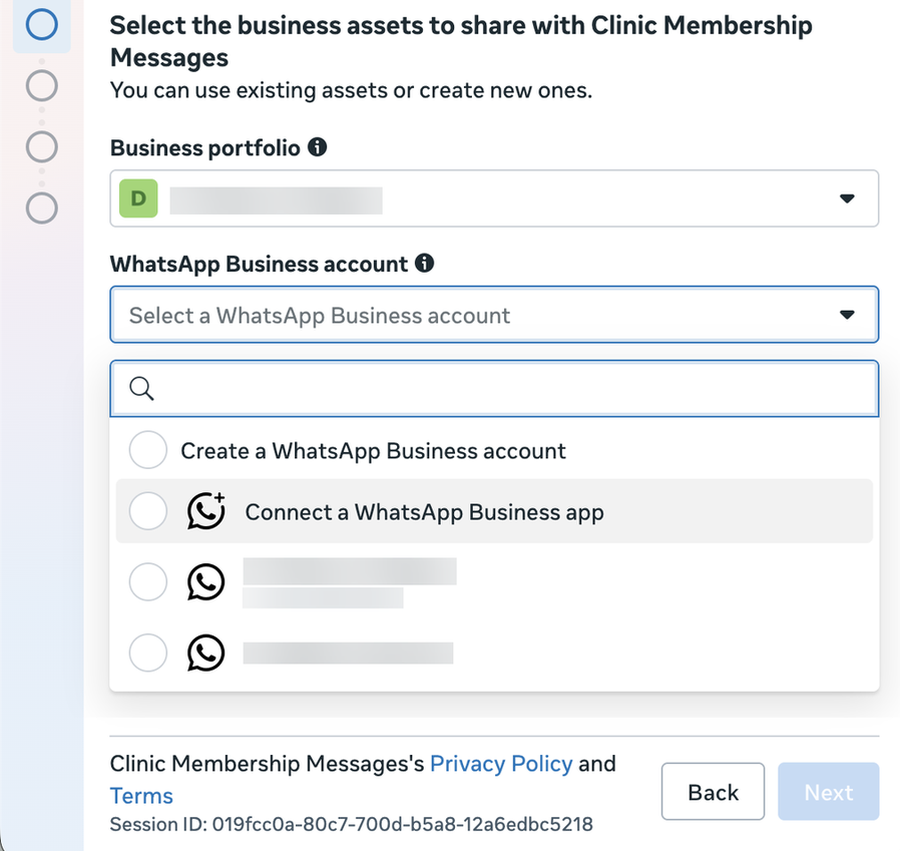
- Choose your Business portfolio. Under WhatsApp Business account, pick Connect a WhatsApp Business app (or select an existing account / create a new one if that fits how you work).
- Click Next.
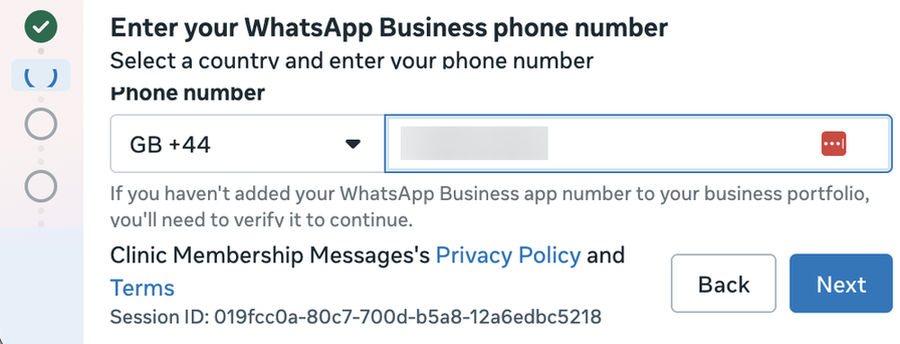
- Enter your WhatsApp Business phone number (same number as on your phone app if you are linking that inbox) → Next.
- Review the data-sharing note about connecting your existing app → Next.
- Confirm the WhatsApp Business account name and timezone → Next.
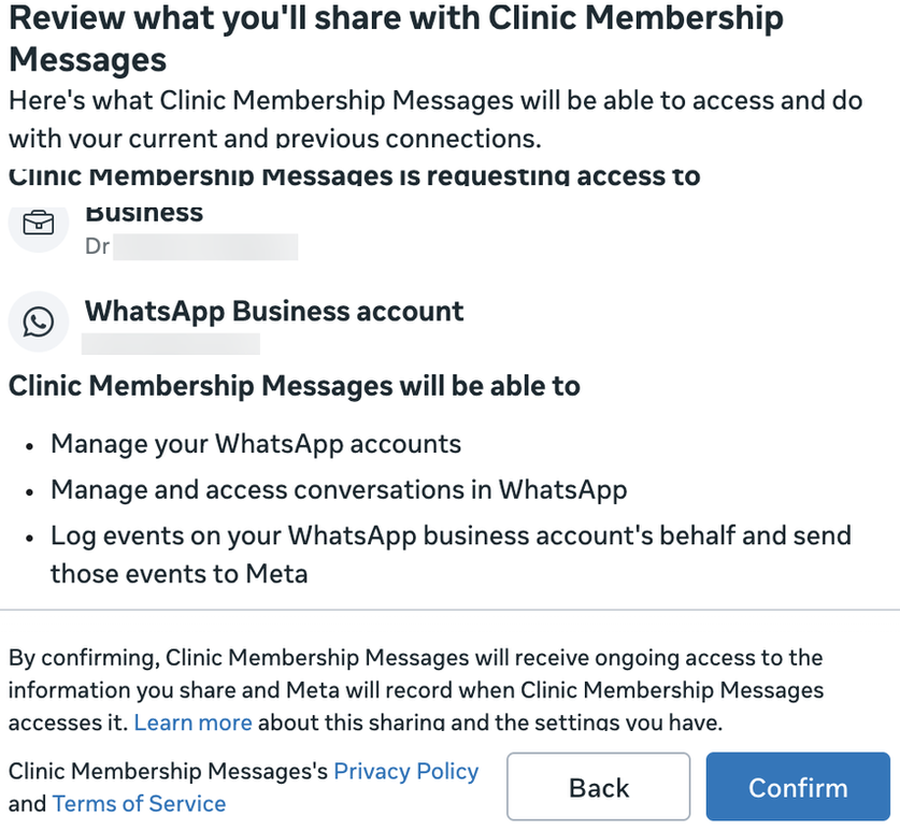
- Review what Clinic Membership Messages can access → Confirm.
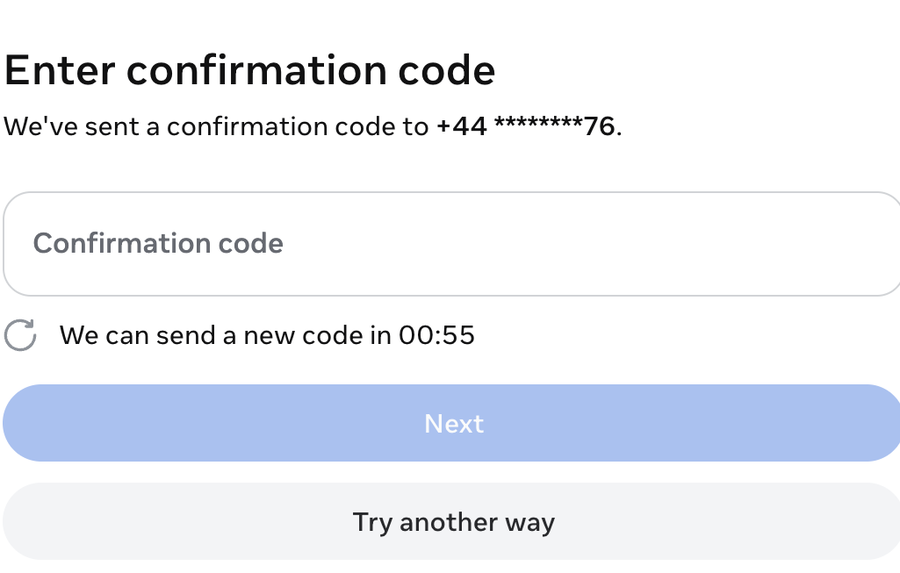
- Enter the confirmation code Meta sends to your phone → Next.
- Wait while Meta finishes Connecting your account.
Add a Meta payment method and finish
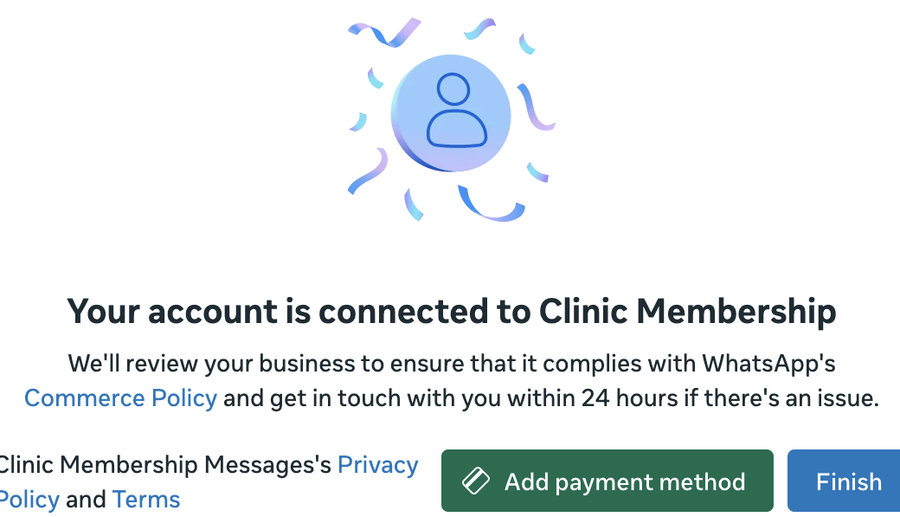
- When you see Your account is connected to Clinic Membership, click Add payment method and add a valid card (or other method Meta accepts).
- Return to the connected screen and click Finish, do not close the window without finishing.
Turn on reminders in Clinic Membership
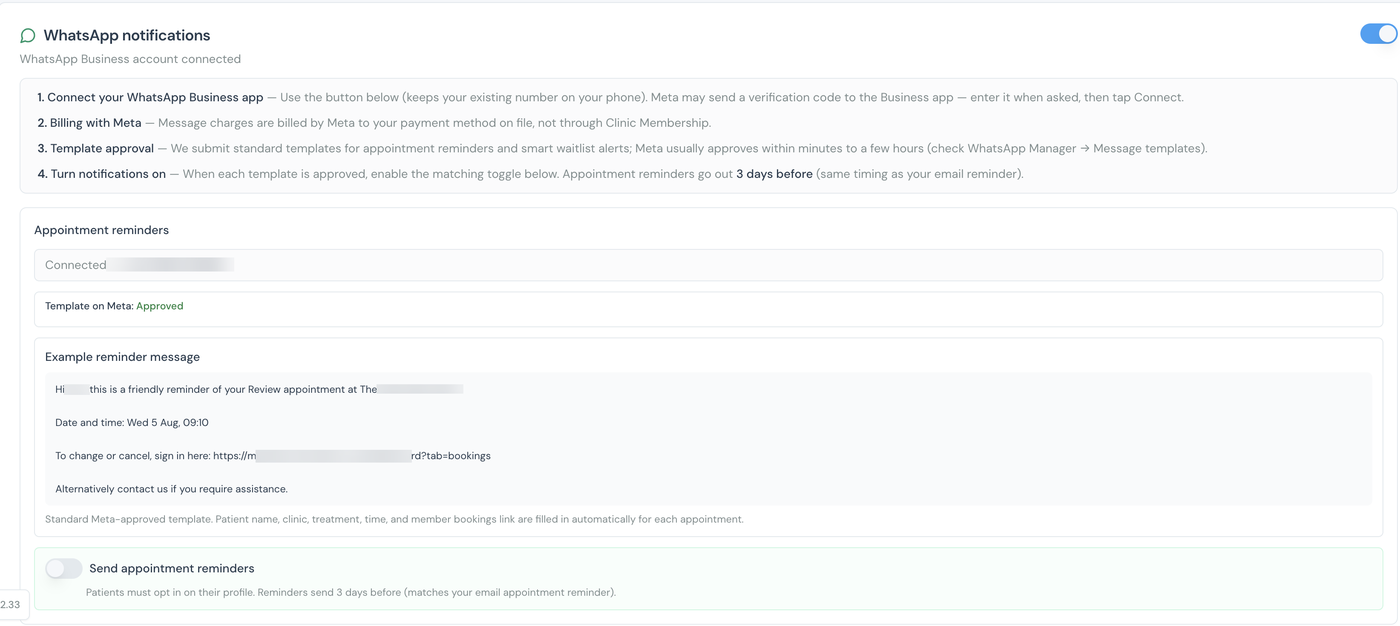
- Back in Settings → Communications, confirm WhatsApp Business account connected and your number shows as Connected.
- Wait until Template on Meta shows Approved (usually minutes to a few hours).
- Turn on Send appointment reminders, timing matches your email appointment reminder setting.
- Optional: turn on Send smart waitlist alerts if you use the smart waitlist.
- Click Save settings at the bottom of the page if prompted.
Reconnect and failed messages
Meta’s connection is not permanent. You may need to renew it from time to time. Clinic Membership shows an alert on your admin screens when reconnecting is required (and emails your clinic admin address). Open WhatsApp notifications → More settings:
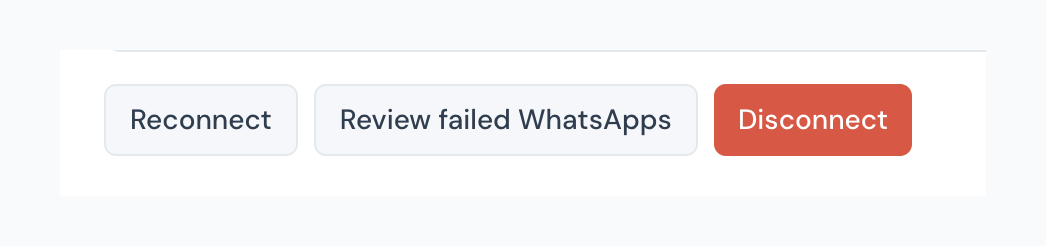
- Reconnect, run the Meta link again when Clinic Membership prompts you.
- Review failed WhatsApps. See messages that did not send so you can follow up.
- Disconnect, remove the WhatsApp link if you need to stop or start over.
What happens next
Send appointment reminders
Set how far ahead email (and matching WhatsApp) reminders go out.
Set up SMS notifications
Optional SMS: patients choose WhatsApp or SMS, not both.
Set up the waitlist
Smart waitlist, pairs with WhatsApp waitlist alerts.
Communications and email templates
Other patient communication settings.