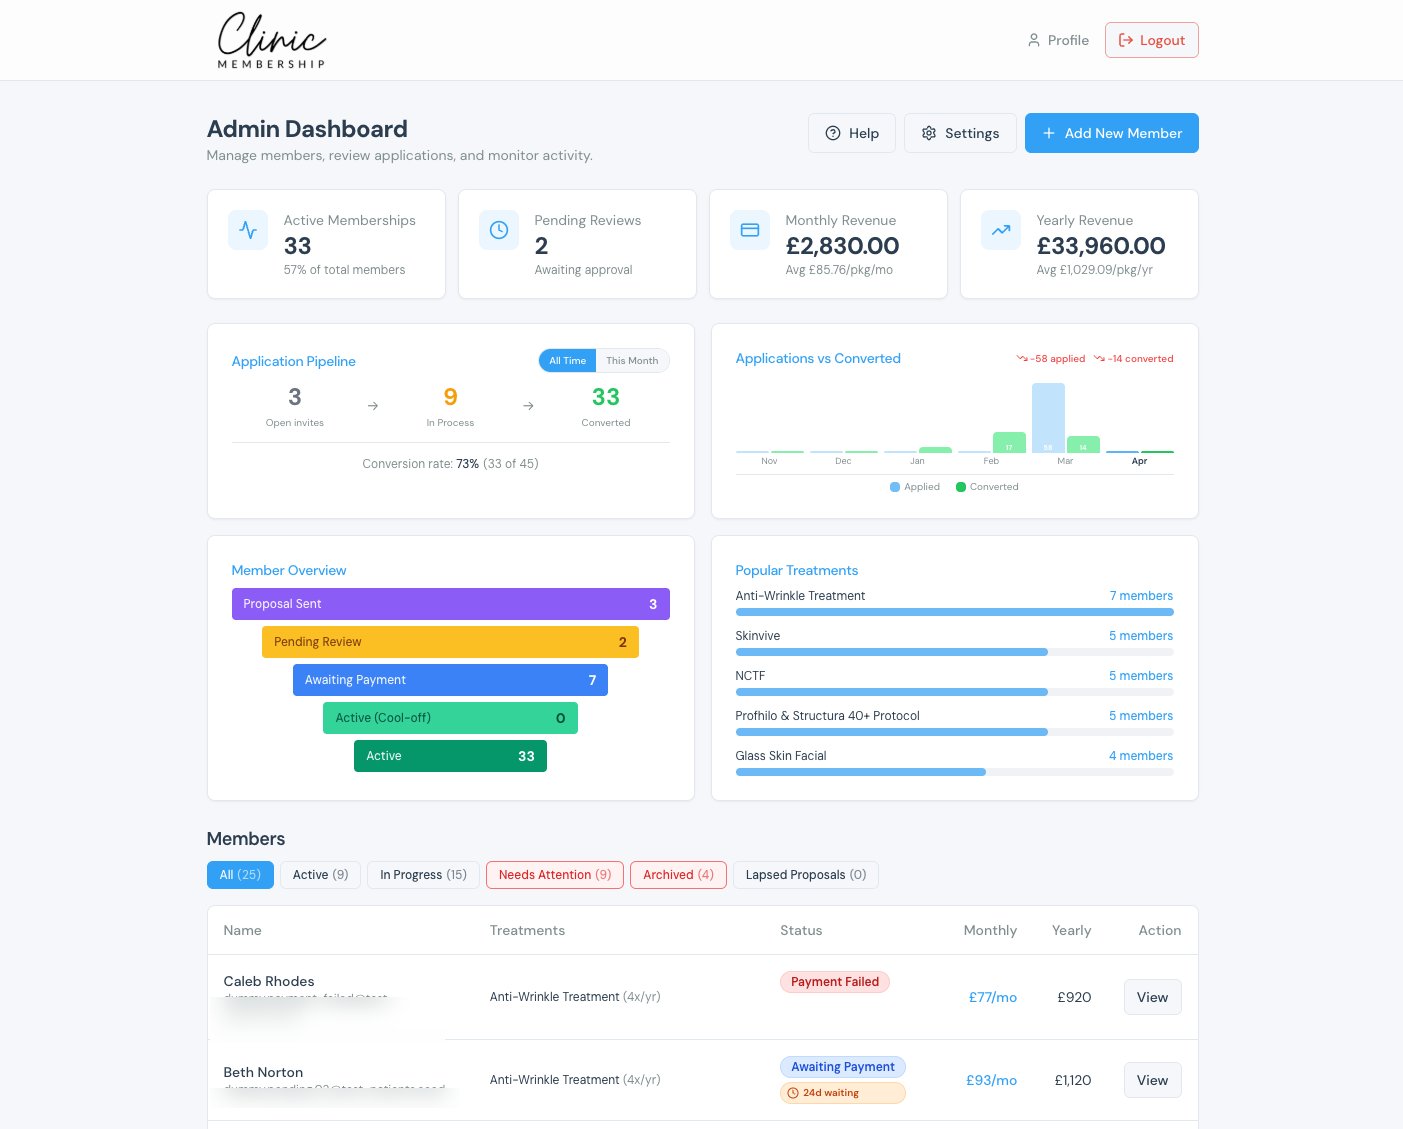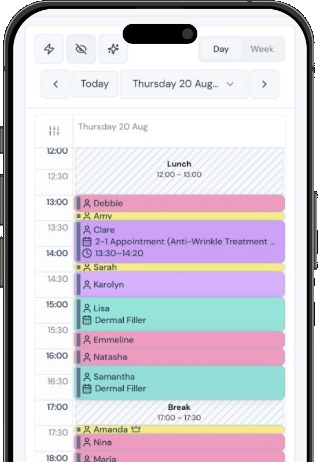


Clinic Membership has two waitlists. New patient waitlist holds people who need a consultation invite before they can book. Smart waitlist alerts existing patients when a matching slot becomes free, useful when someone cancels.
Turn on the new patient waitlist
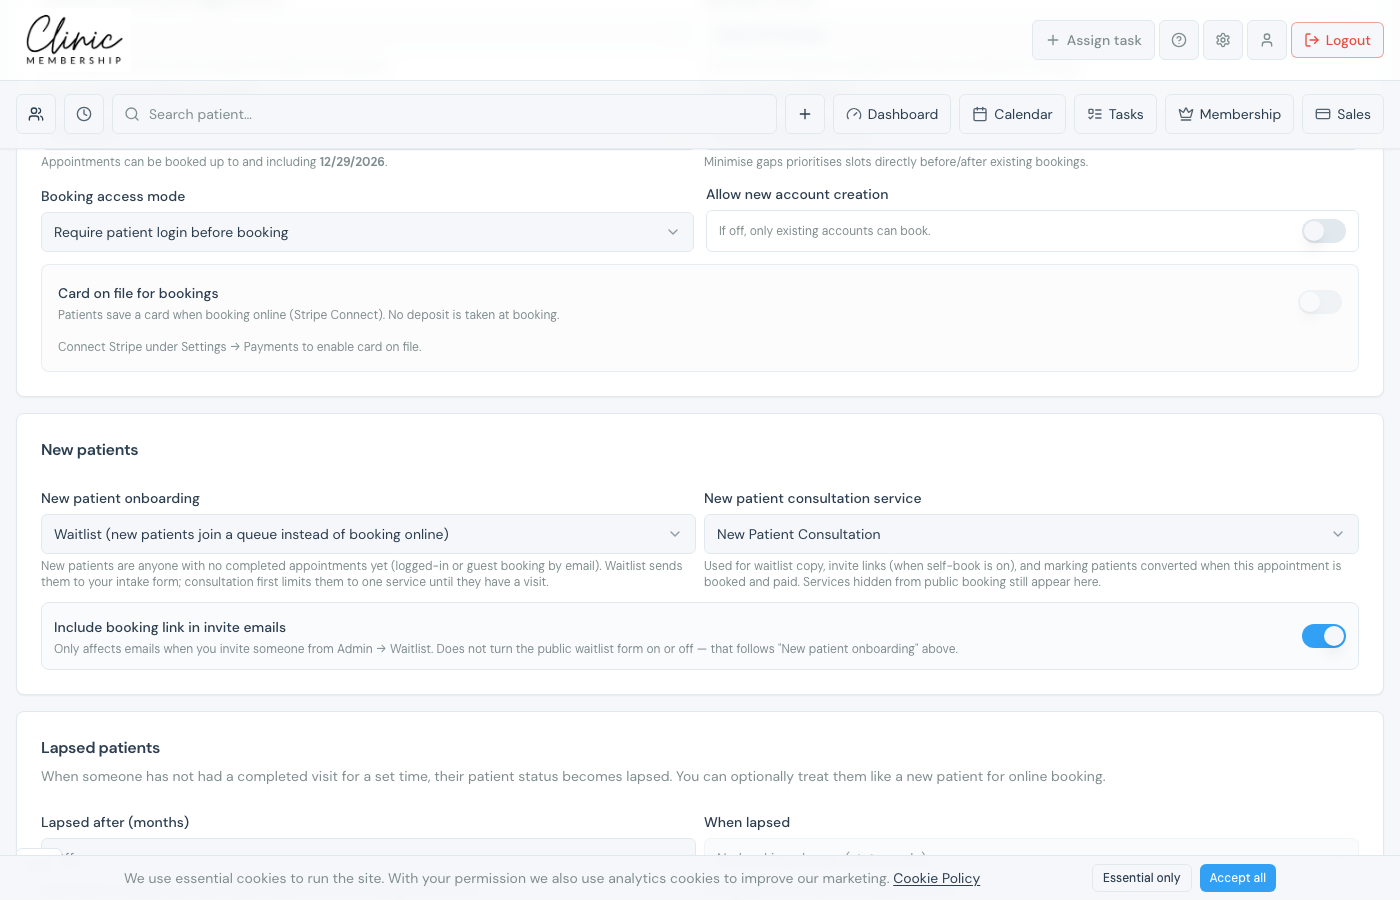
- Go to Settings → Calendar.
- Scroll to New patients → New patient onboarding.
- Choose Waitlist (instead of open booking or consultation-first).
- Click Save settings.
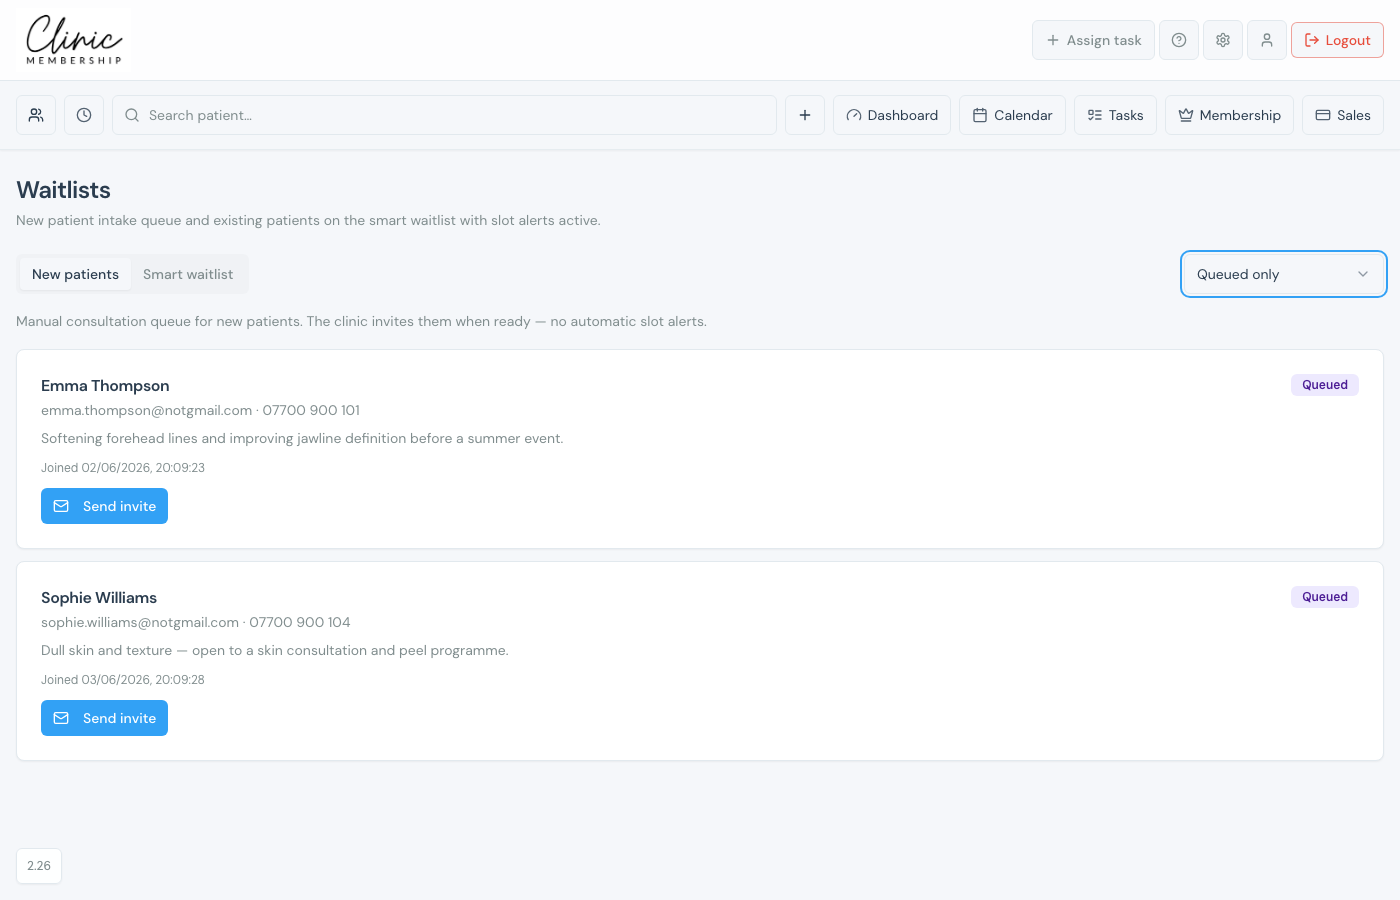
- Go to Admin → Waitlists → New patients tab.
- When someone is ready to book, click Send invite on the left of their row. If they are not a fit, click Remove from waitlist on the right.
Note
When they book a consultation, they leave the new patient waitlist automatically. You do not need to remove them by hand.
Manage the smart waitlist
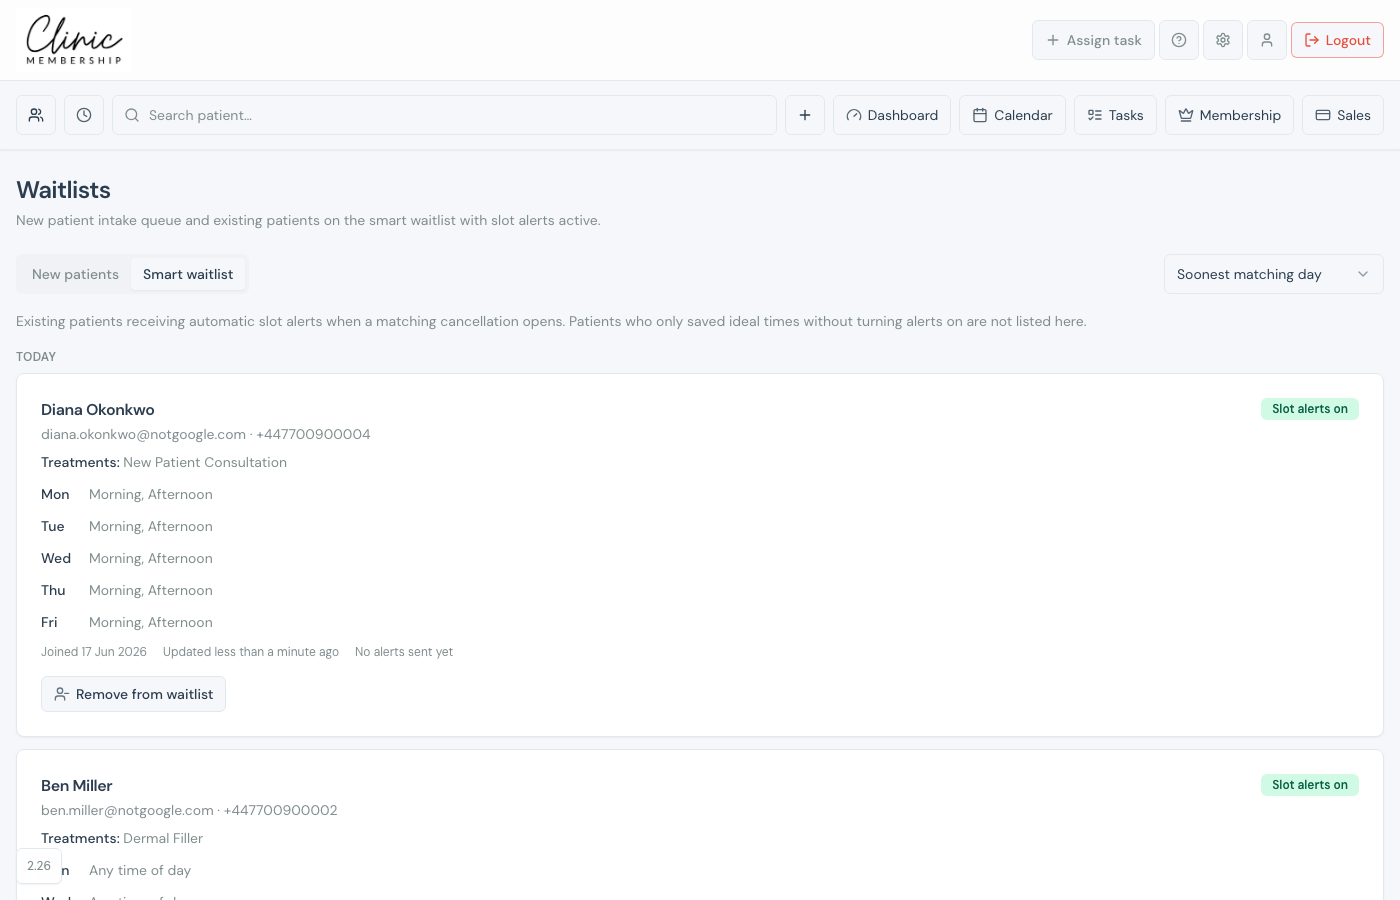
- Open Admin → Waitlists → Smart waitlist tab.
- Patients appear here when they opt in for slot alerts on a treatment.
- When a slot opens, they receive an alert and can book from the link.
- Use Remove from waitlist to turn alerts off and clear them from this list.
- Each row shows whether a treatment is inside its review window or minimum gap, so you can see why someone might not get an offer yet.
- If they watch more than one treatment, booking one leaves the others on the list.
Note
If a location has an Appointment buffer, smart waitlist uses the longer block (treatment + buffer) when deciding whether a freed slot is long enough, same as the calendar. Offers also follow the same online booking rules as the public calendar (review windows and minimum gaps, counted on the clinic calendar). Each person gets at most two slot alerts per clinic day. Alerts pause after two unused offers, or two weeks of being eligible with no booking.
Turn alerts off on the patient card
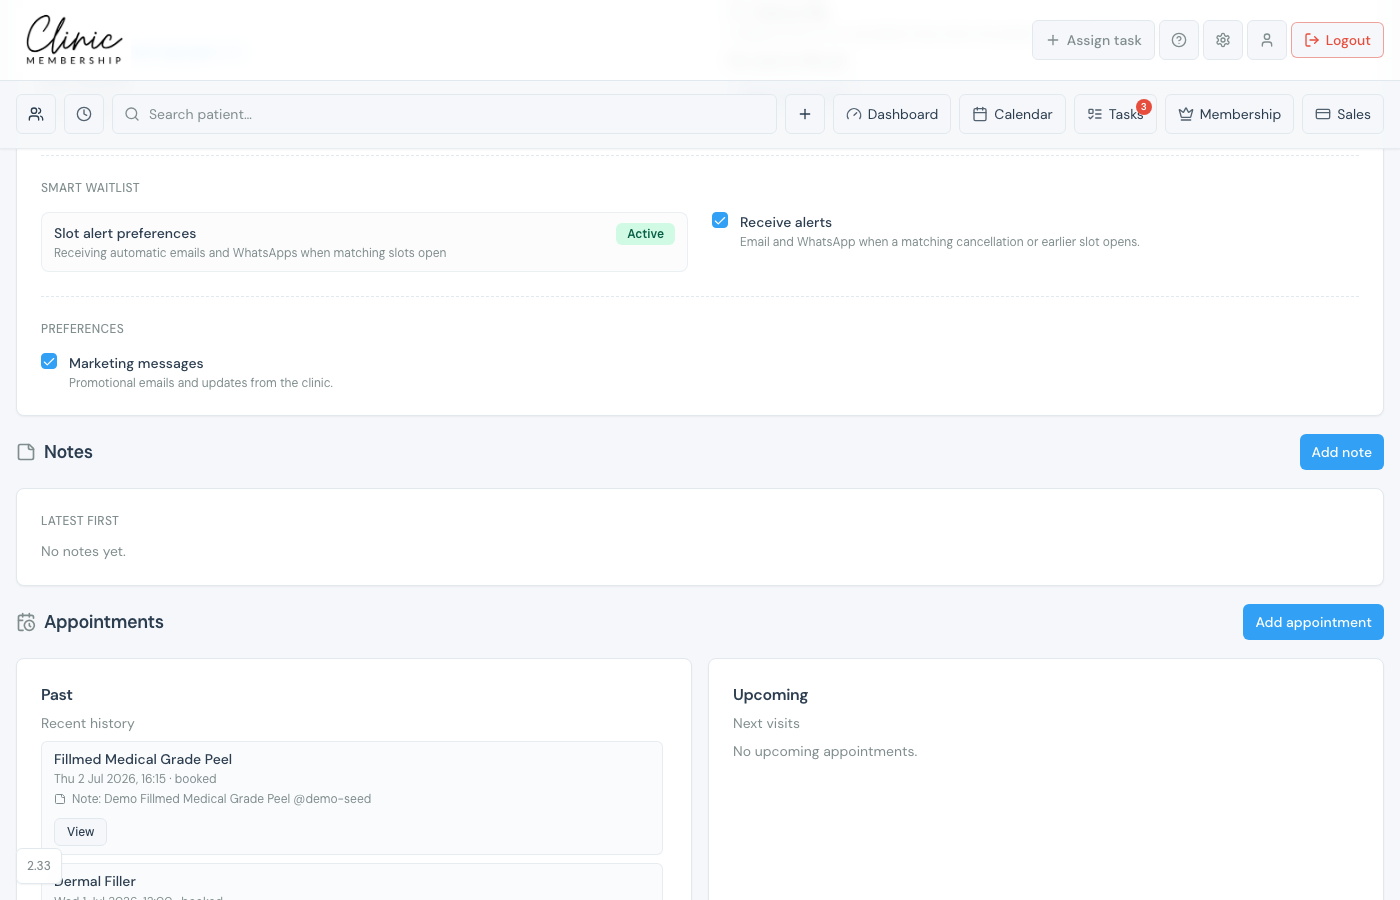
- Open the patient card (Admin → Patients, or Search patient).
- Find the Smart waitlist section.
- Untick Receive alerts to stop email, WhatsApp, and SMS slot notifications.
- Ideal days and treatments stay saved: tick Receive alerts again when they want notifications.
- Or open Slot alert preferences for the same checkbox and a summary of their times.
How patients turn alerts off themselves
- The patient signs in to your clinic patient portal.
- Opens Dashboard & bookings (or My ideal appointment times).
- Clicks Edit on My ideal appointment times.
- Unticks Email me when a matching slot opens, then Save.
- Their preferred days and times can stay on file; they simply stop getting alerts.
Tip
Patients can also join or update the smart waitlist right after booking online (Join smart waitlist). Slot-offer emails include a link to turn alerts off (email, WhatsApp, and SMS). Turning the checkbox off later in the patient portal does the same.
What happens next
Get your online booking link
Embed booking and waitlist on your website.
Connect WhatsApp notifications
Optional WhatsApp alerts for smart waitlist slots.
Set up SMS notifications
Optional SMS alerts for smart waitlist slots.
Find, edit, block and merge patient records
Find a patient card to manage alerts.