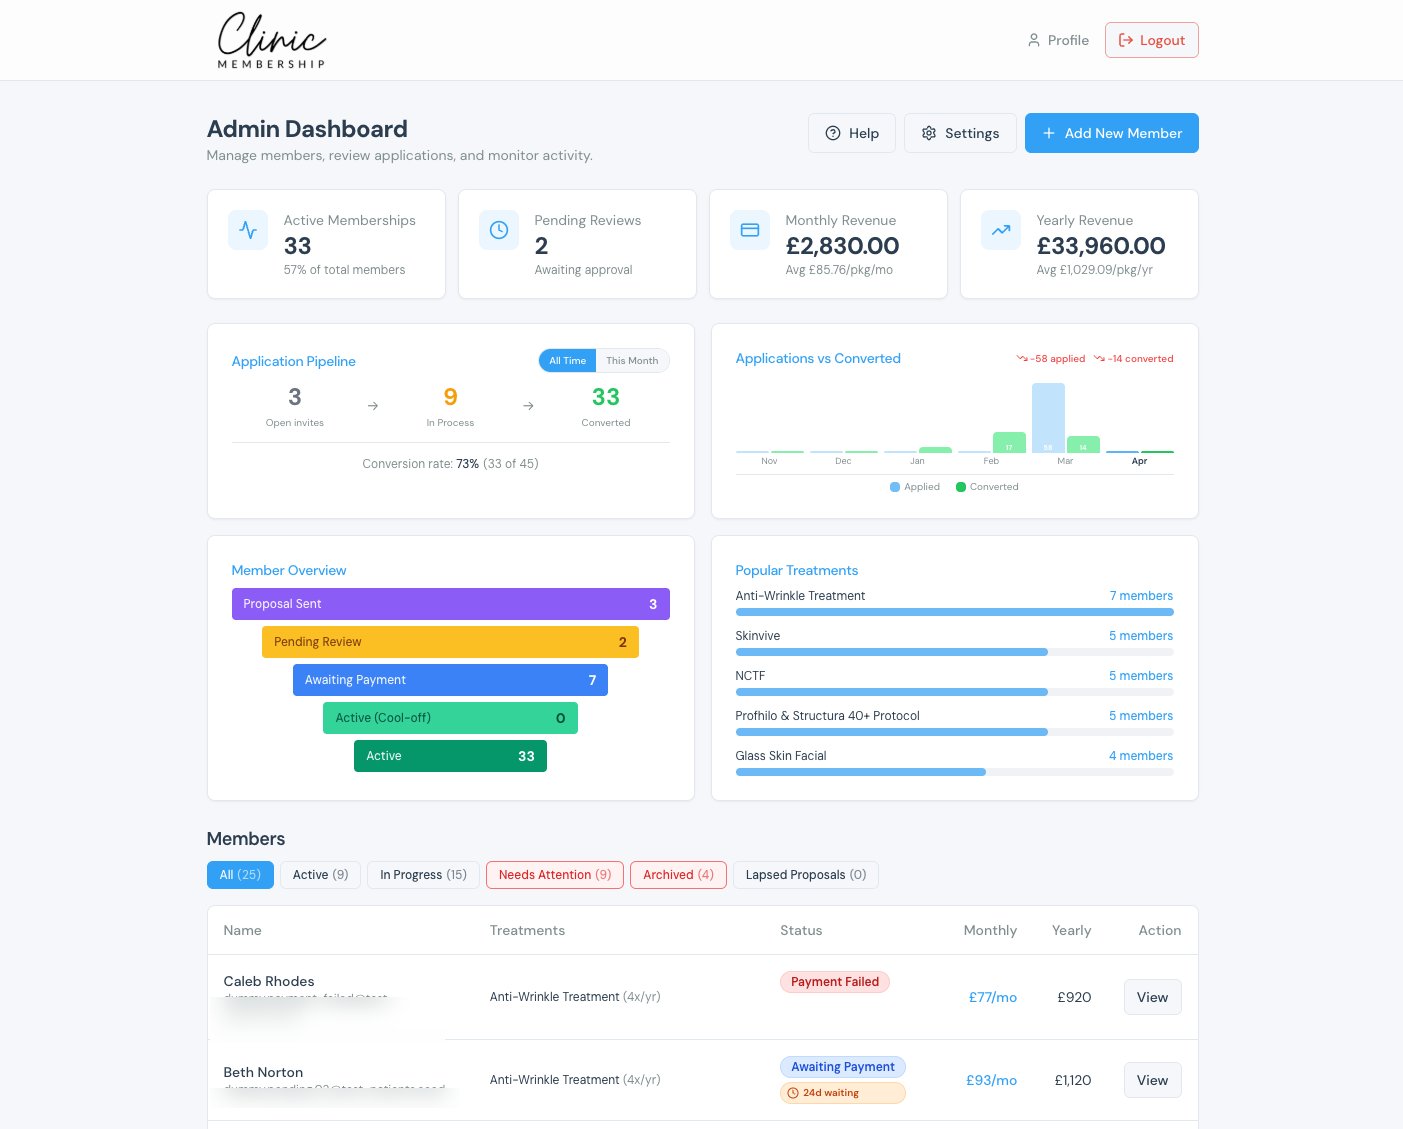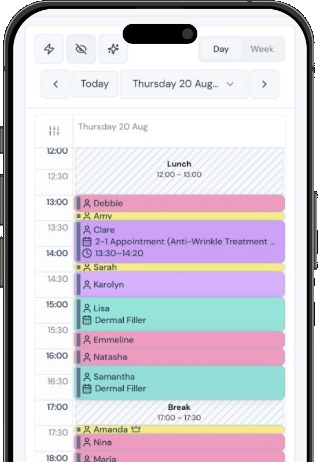


If your patient list still lives in diaries, cards, or notebooks, you do not need to type everyone into Documenti by hand. Create each person once in Clinic Membership: Documenti then builds or links their clinical file for you.
Moving from paper notes
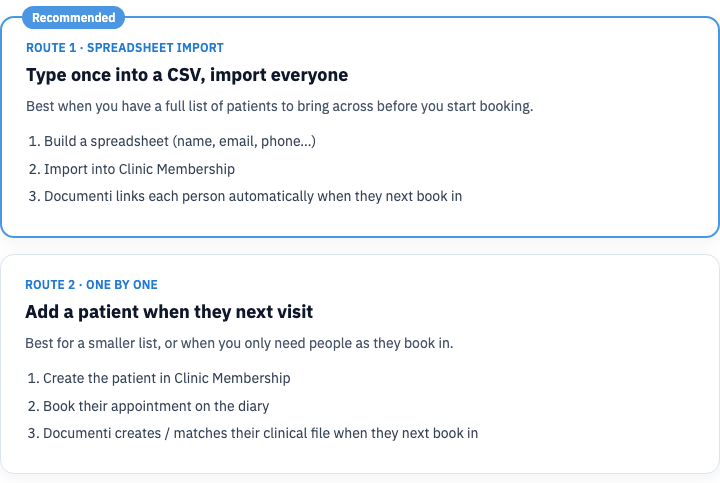
Pick Route 1 for a full list, or Route 2 when you only need people as they next visit.
Tip
Connect Documenti before you import or start booking. See Connect Documenti to Clinic Membership. Matching uses email and phone, so type those carefully from your paper notes.
Route 1 (recommended), spreadsheet import
Best when you have a full list to bring across before day-to-day booking. You type each patient once into a spreadsheet, import into Clinic Membership, and Documenti links each person automatically when they next book in.
Build your spreadsheet
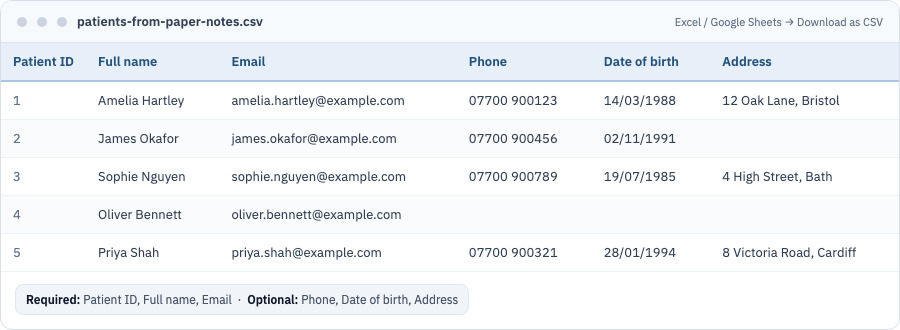
Download the template below: the column titles match what Clinic Membership expects for import. Replace the example rows with your patients (or delete them and add your own). Save as CSV when you are done.
Patient import template
Columns: Patient ID, Full name, Email, Phone, Date of birth, Address. Patient ID, Full name, and Email are required, leave optional cells blank if you do not have them.
- Download the CSV template and open it in Excel or Google Sheets.
- Give every row a simple Patient ID (1, 2, 3… is fine. It just needs to be unique).
- Fill Full name and Email for every patient (both are required).
- Add Phone, Date of birth, and Address when you have them, leave a cell blank if you do not.
- Delete the example rows once your real patients are in.
- File → Download / Save as CSV (.csv).
Note
Use one email per person. Shared family emails make Documenti matching harder. Mobile numbers work best for WhatsApp and reminders later.
Import into Clinic Membership
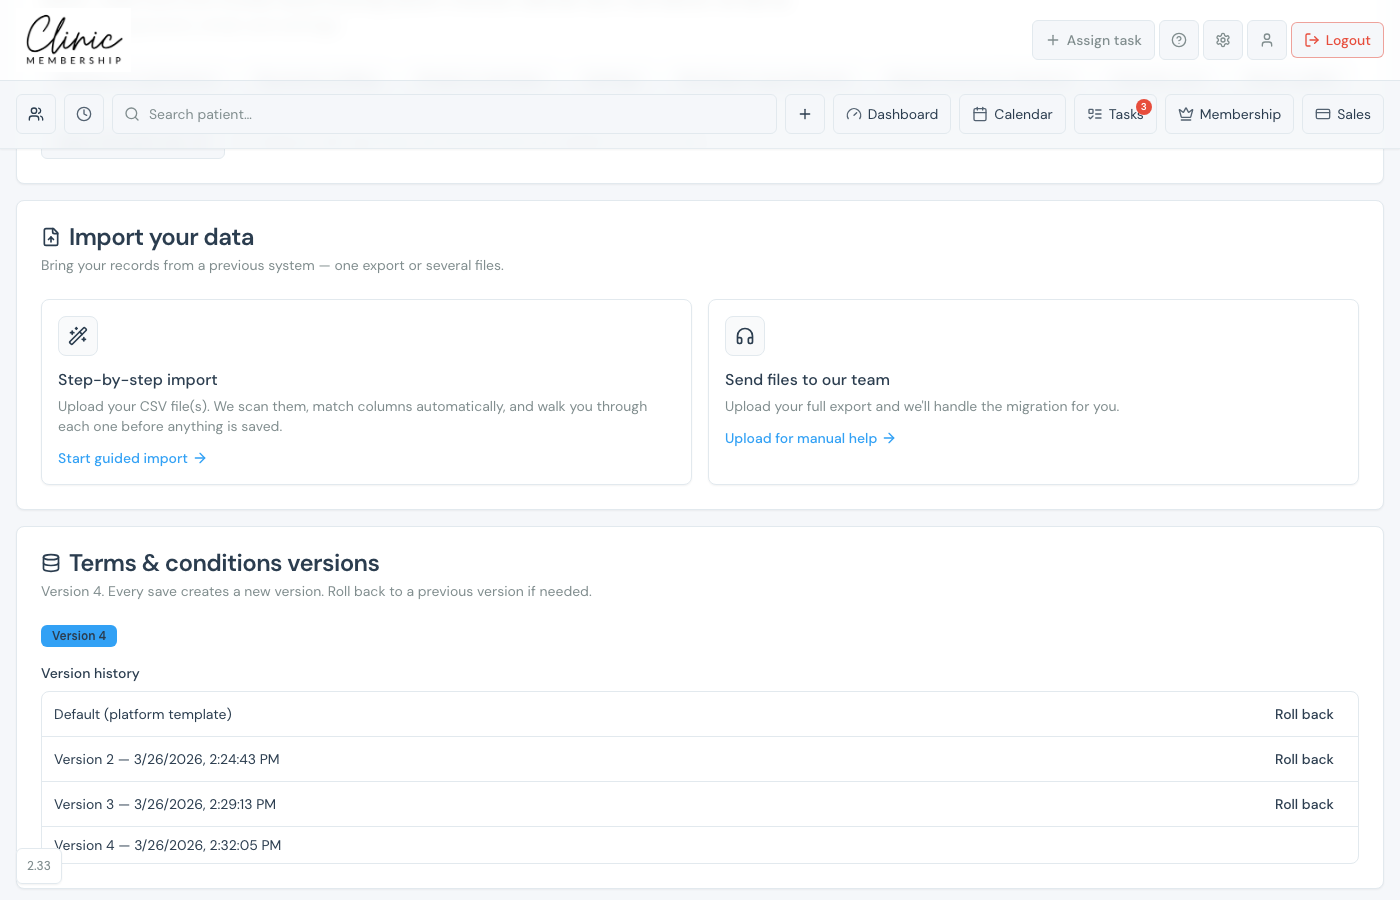
- Go to Settings → Data.
- Scroll to Import your data.
- Click Step-by-step import (Start guided import).
- Upload your CSV.
- Check the column matching: map Patient ID, Full name, and Email if they are not picked up automatically.
- Preview the list, then Import.
What Documenti does after the import
- Clinic Membership holds the patient list you imported.
- When someone next books in, Documenti links them automatically if email or phone already matches a clinical record.
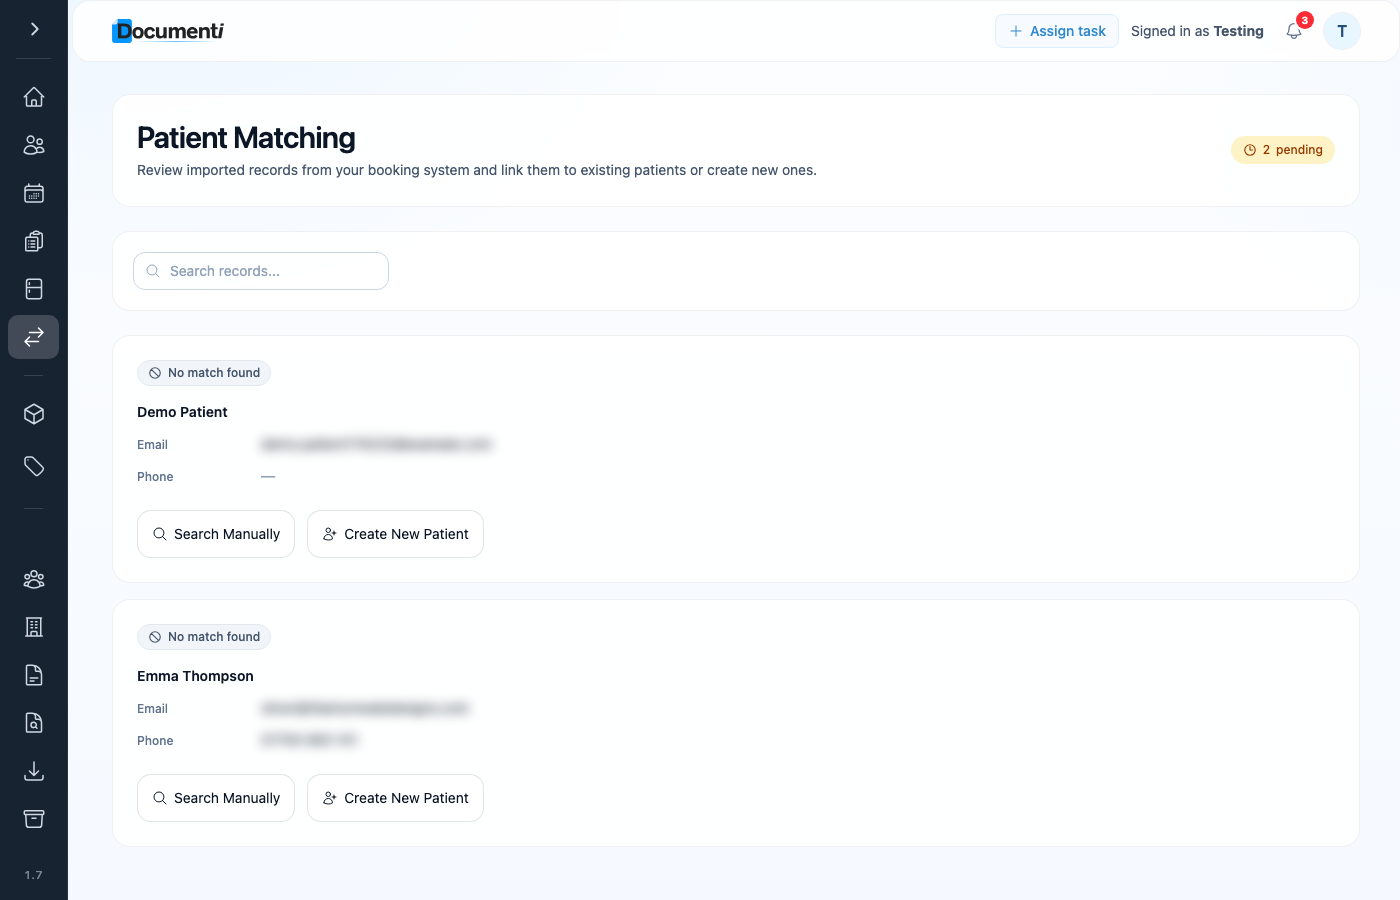
- If there is no match, open Patient Matching in Documenti and choose Create New Patient, or Search Manually if you recognise them under a different email.
Route 2: add patients one by one
Best for a smaller list, or when you only need someone on the system when they next book. Always create the patient in Clinic Membership first, do not start a separate chart in Documenti. Documenti creates / matches their clinical file when they next book in.
- Go to Admin → Patients (or use Search patient in the top bar).
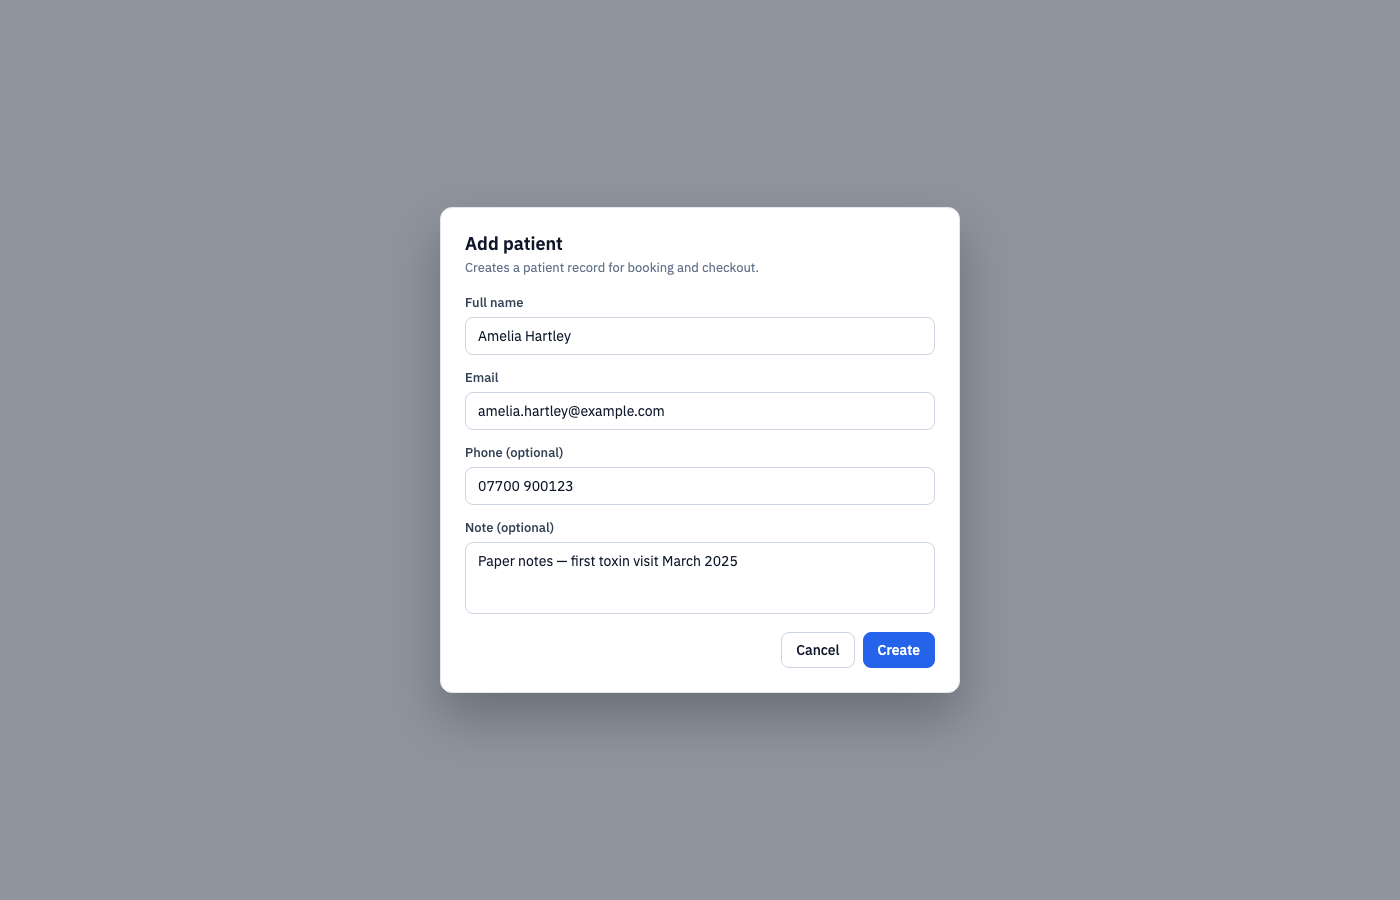
- Click Add patient.
- Enter Full name and Email from the paper notes: add Phone and a short Note if useful.
- Click Create.
Book their appointment
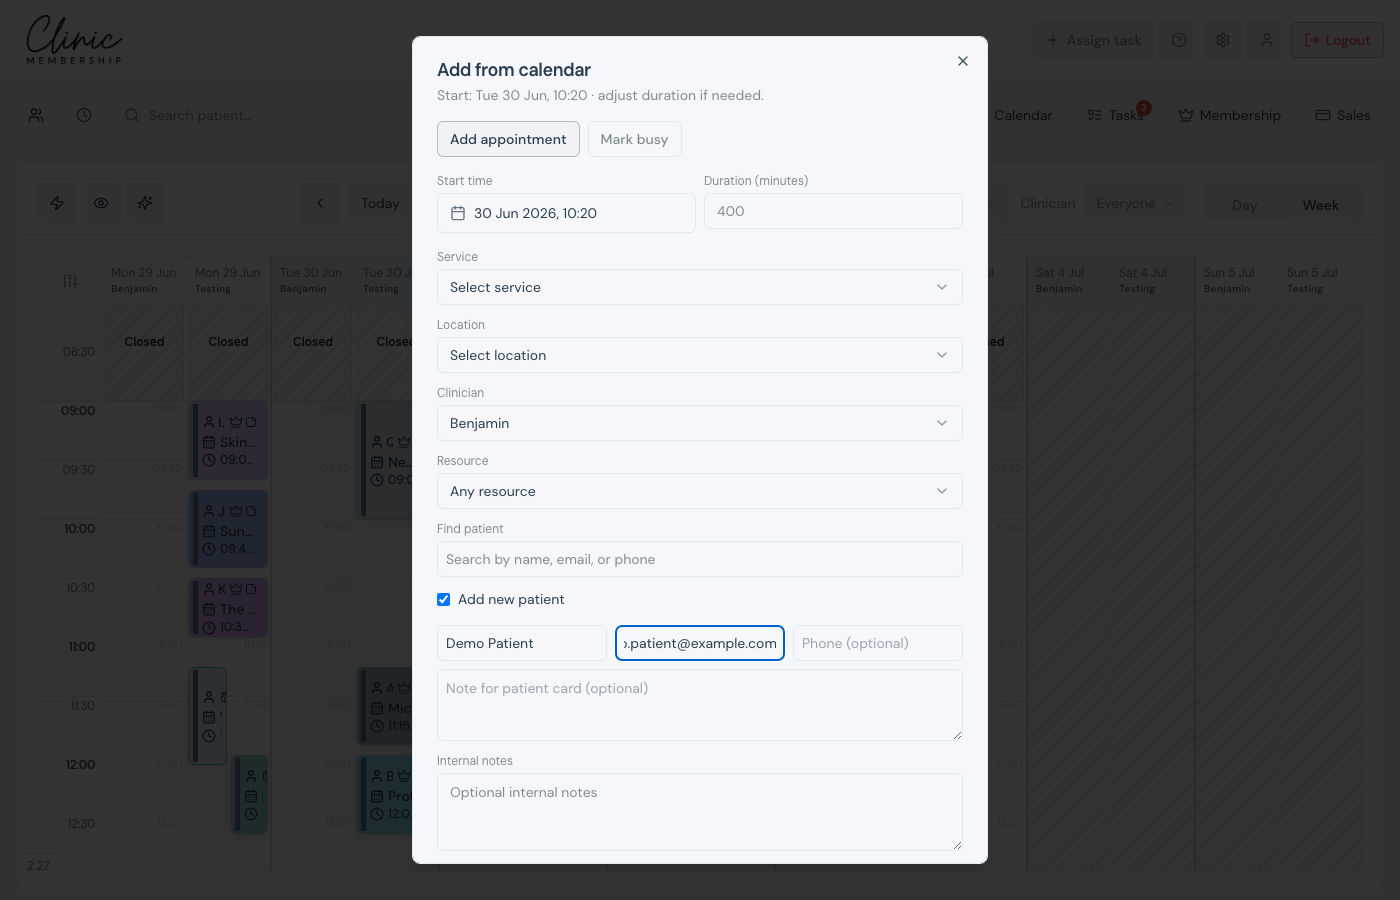
- Open Admin → Calendar and click an empty slot.
- Choose Add appointment, then pick the service, location, and clinician.
- Under Find patient, search for the person you just created, or tick Add new patient to create them in the same step.
- Save the appointment.
Note
When that appointment syncs, Documenti creates or links the clinical file through Patient Matching. Allow about a minute, then check today’s daily list or Patient Matching if they are still pending.
Which route should you use?
- Spreadsheet import. You have dozens or hundreds of names and want everyone on the system before you go live.
- One by one. You are live already and only need the next few patients from the paper diary.
- Either way: one source of truth in Clinic Membership; Documenti follows via sync and matching.
What happens next
Connect Documenti to Clinic Membership
Connect Documenti before you import or book.
Onboard from another system
Moving from another clinic system: send files or import yourself.
Import patients from another system
Full guided import walkthrough for CSVs.
How patient matching works
How Documenti links inbound patients.
Book an appointment from the calendar
Book visits once patients are on the list.
How your daily list populates in Documenti
See matched patients on today’s clinical list.