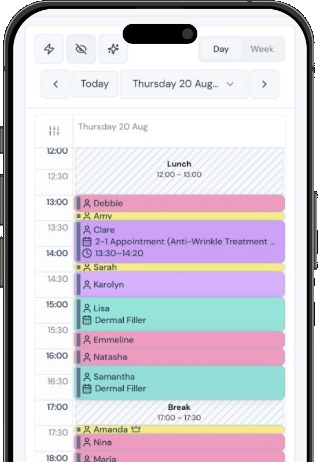


Locations represent each clinic site you book against: a main clinic, a second branch, or a dedicated room suite. Once you add a second location, location filters appear on the calendar and patients can choose a site when booking online.
Add a location
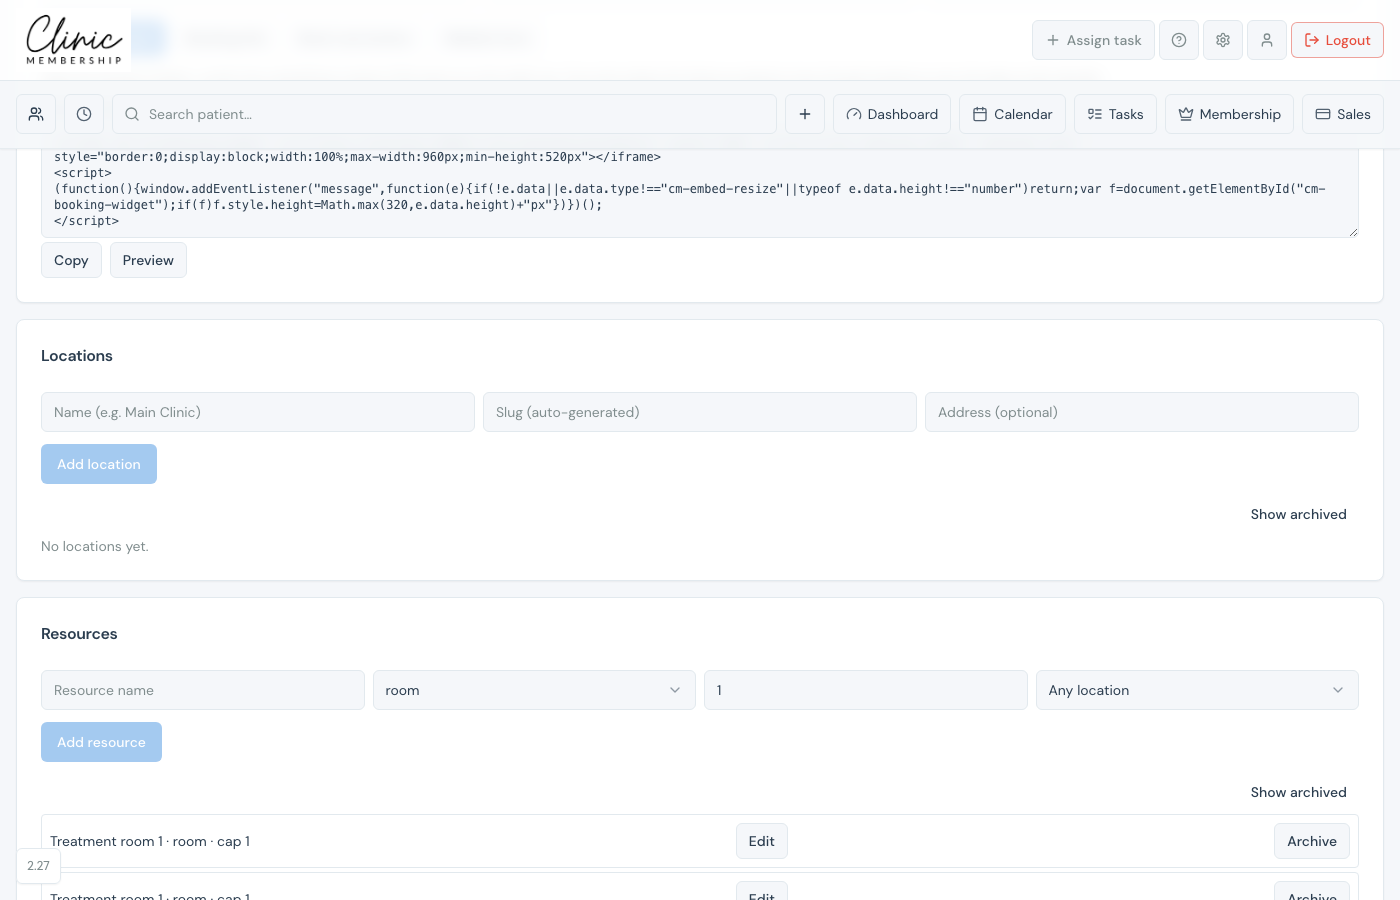
- Go to Settings → Calendar.
- Scroll to Locations.
- Enter Name (for example Main Clinic or Harley Street).
- The slug is generated automatically, used in booking links.
- Optional: add Address for your team’s reference and for patient emails.
- If Documenti is connected, pick the Documenti clinic for this site. The first location can use your default clinic. A second location needs its own Documenti clinic.
- Click Add location.
- Repeat for each site, then Save settings at the bottom of the page.
Note
If the clinic you need is not in the list, add it in Documenti first (Clinic Management). Clinic Membership cannot create Documenti clinics. See Manage clinics in Documenti.
Appointment buffer
- Edit a location under Settings → Calendar → Locations.
- Turn on Appointment buffer.
- Set Buffer after appointment (minutes), for example 10.
- Save location, then Save settings at the bottom of the page.
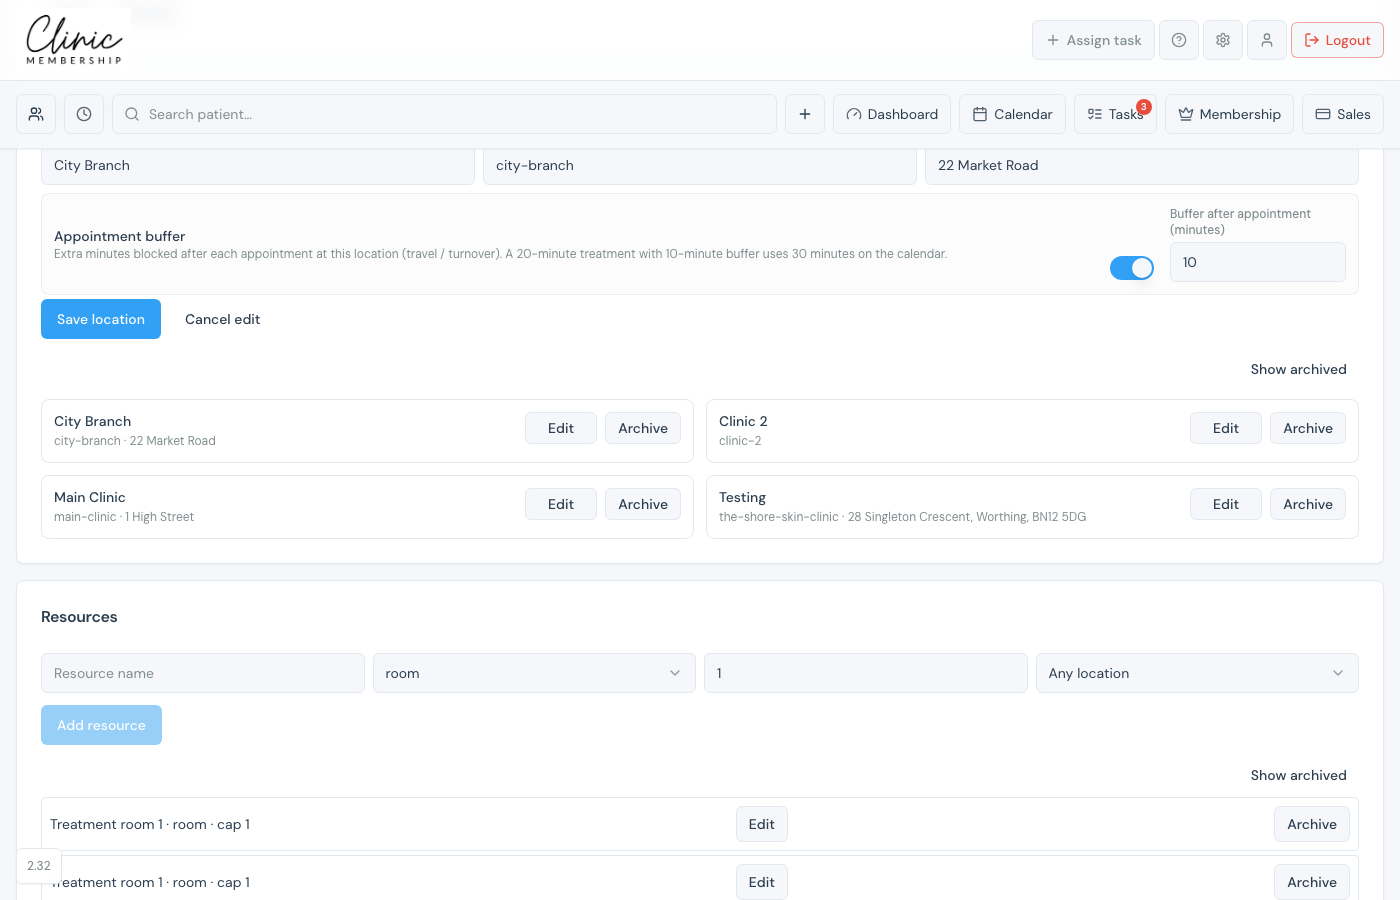
Extra minutes are blocked on the calendar after each appointment at that site (travel or room turnover). Example: a 20-minute treatment with a 10-minute buffer uses a 30-minute block. Smart waitlist also uses this longer block when checking whether a freed slot fits.
Include directions
- Edit a location under Settings → Calendar → Locations.
- Turn on Include directions.
- Write How to find us, for example where to park or which door to use.
- Save location, then Save settings at the bottom of the page.
When this is on, booking confirmations, reminders, and booking-updated emails add a How to find us line under that site's address. If the toggle is off, the address still shows and the directions stay out of the email.
Documenti clinic
When Documenti is connected, each location is paired with a Documenti clinic so professional stock stays correct at that site. You set this when you add the location. To change a pair later, open Stock settings (the gear on the Stock page) and Save mapping.
After you add locations
- Assign locations on each clinician’s rota under Settings → Team.
- Optional: tie a service to one location in Settings → Calendar → Services.
- Admin → Calendar shows a Location filter when you have more than one site.
- Your online booking page shows a location step for patients.
- Booking confirmations and reminders can include location name, address, and directions. See Communications and email templates.
- Professional stock and stock reports use each mapped Documenti clinic. See Professional stock in Clinic Membership.
Tip
Build a booking link for one site only in Settings → Calendar. See Get your online booking link.
What happens next
Set up rooms and resources
Add rooms or devices tied to a location.
Set staff rotas
Set which locations each clinician works at.
Filter the calendar and book at a location
Use location filters on the diary.
Communications and email templates
Add location name and address to booking emails.
Manage clinics in Documenti
Add the matching clinic in Documenti first.
Stock settings and low-stock alerts
Change a Documenti clinic pair later.