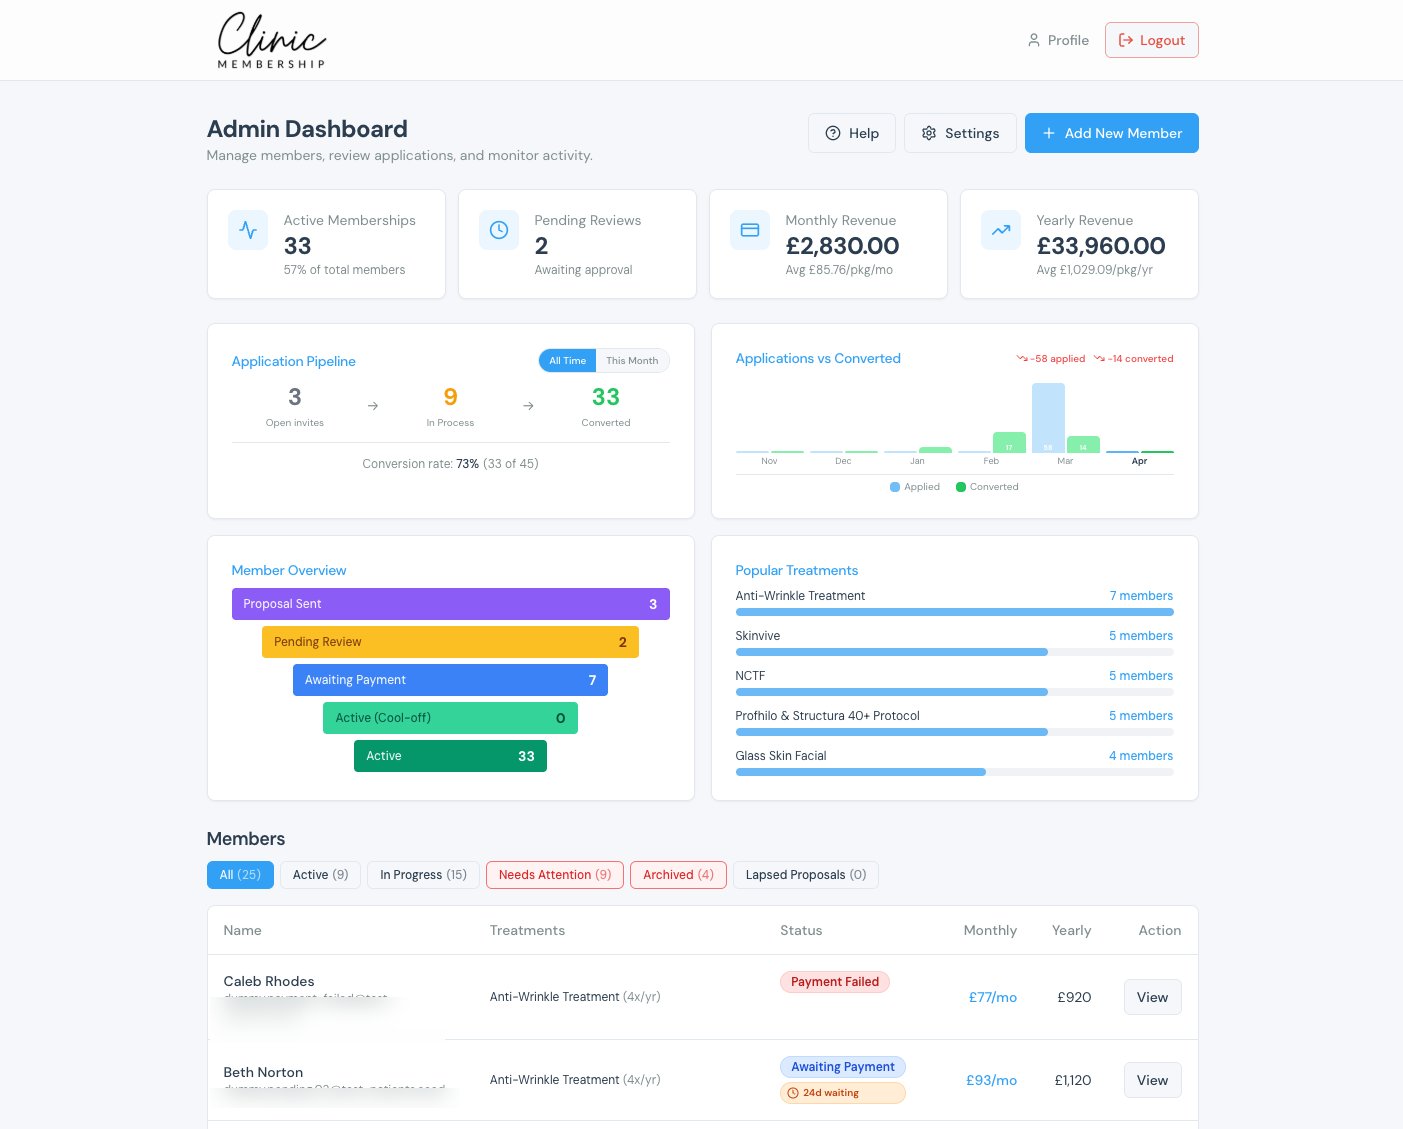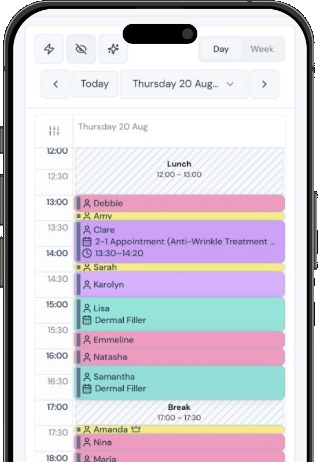


You do not need to configure everything on day one. Clinic Membership gives you a floating setup helper on admin screens, step-by-step Help Centre guides, and a ? menu when you need support. Work through the checklist at your own pace: each item links into Settings and the matching guide.
Floating setup helper
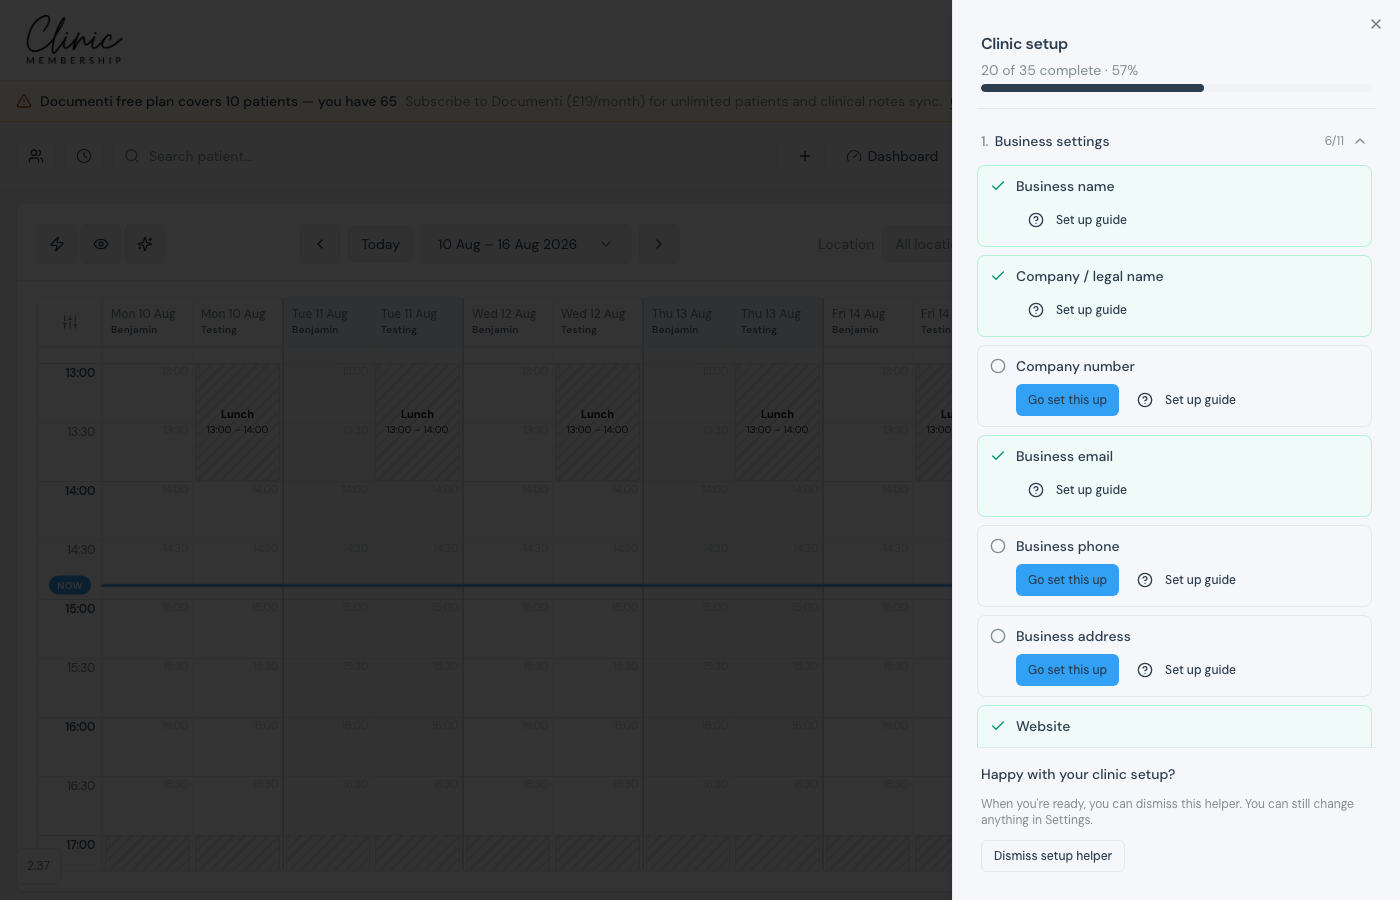
As a clinic admin you will see a setup progress badge on admin pages. Open it to work through onboarding sections (services, booking, team, communications, payments, and more). Each incomplete item has:
- Go set this up, jumps into the right place in Settings (or the feature you need).
- Set up guide, opens the Help Centre article for that step in a new tab, with screenshots and detail.
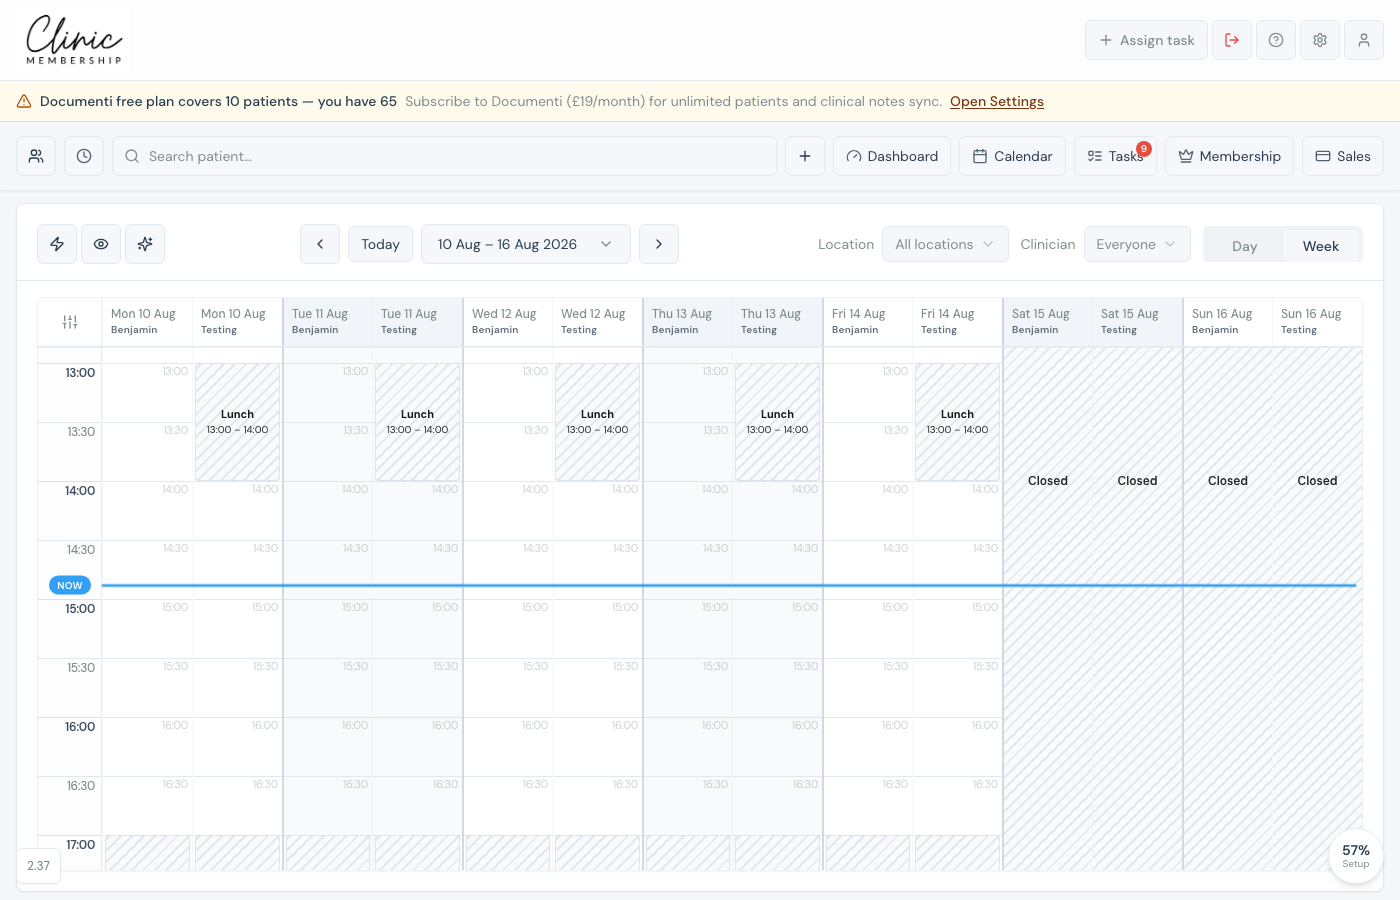
Tip
Follow the helper until you are happy with your clinic setup. When you are ready, use Dismiss setup helper at the bottom of the list. You will not get the floating helper back after dismissing it: Settings and the Help Centre stay available anytime.
Help Centre and the ? button
Almost every setup step has a guide. Browse them at clinicmembership.co.uk/help, or from inside the app:
- Click the question mark (?) at the top right of admin.
- Choose Open Help Centre to browse or search all guides.
- Or stay in Get help to contact Support, or open Feature request to suggest an improvement.
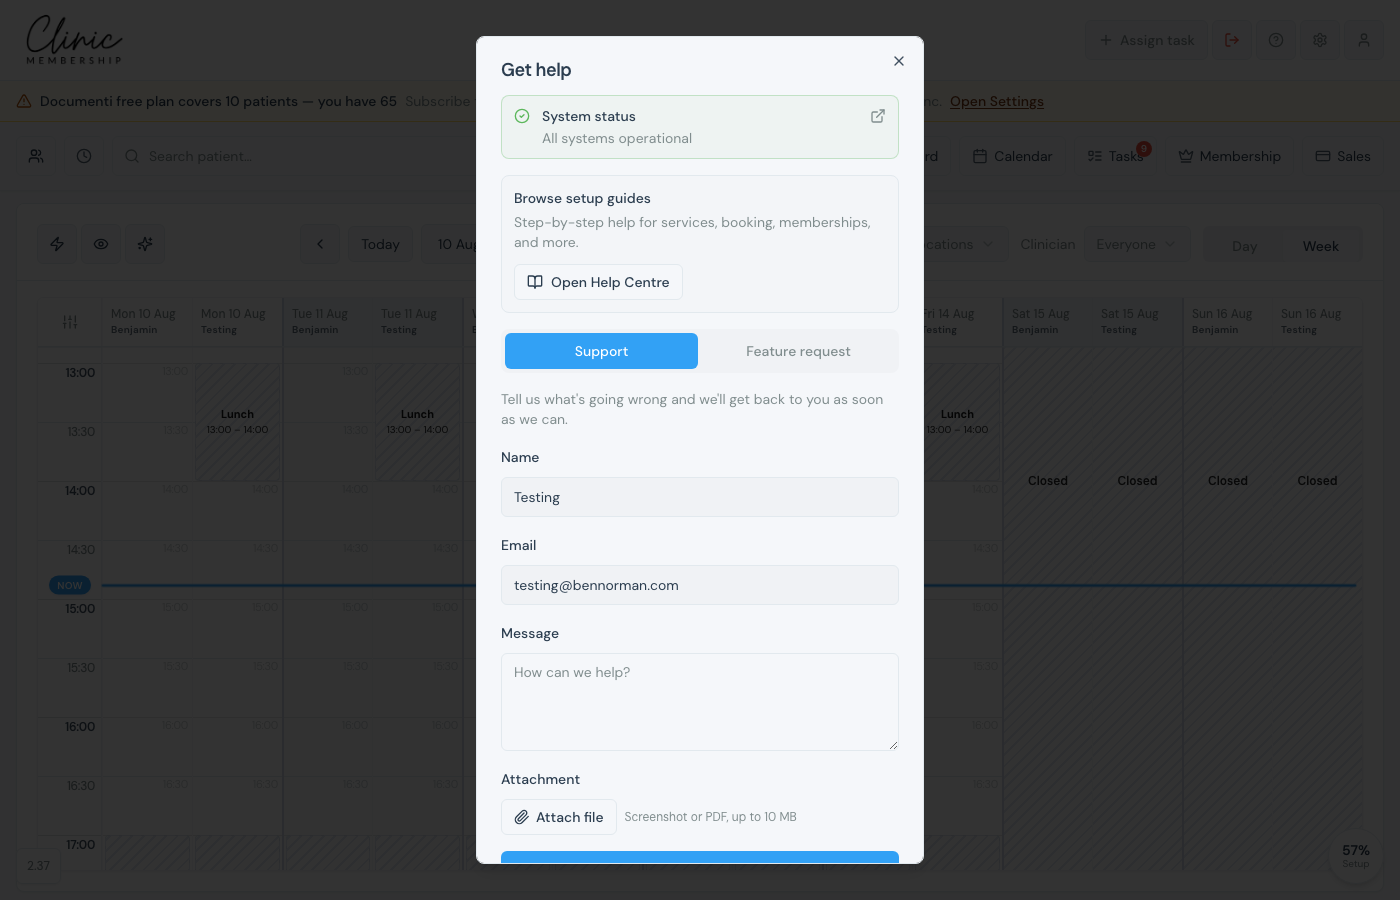
Note
Many Help Centre articles include an Open settings button that takes you straight to the right Settings tab while you are logged in as admin.
Recommended setup order
- Confirm your clinic timezone under Settings → Business (usually Europe/London).
- Add your bookable services (treatments, duration, price).
- Turn on the calendar and share your online booking link.
- Set staff rotas and add team logins so patients see real availability.
- Turn on appointment reminder emails; optional WhatsApp and SMS for patients who want mobile alerts.
- Configure membership plans and invite your first members.
- Connect Stripe for patient payments, card on file, and gift vouchers.
- Optional: card reader, waitlist, locations, and Documenti.
- Import patients if you are moving from another system, or from paper notes via a spreadsheet.
- Day to day: book on the calendar, reschedule by drag-and-drop, and use Live activity to stop mistaken patient emails.
Start here
Set your clinic timezone
Diary and online booking follow this timezone.
Set up your bookable services
Add the treatments patients can book and your team sees on the diary.
Onboard from paper notes
Bring patients across from paper notes, spreadsheet or one by one.
Onboard from another system
Moving from another booking system: send files to us or import yourself.
Book an appointment from the calendar
Book a patient from an empty slot on the diary.
Get your online booking link
Share your booking page: Existing vs New patient on open booking.
Set staff rotas
Set who works when, empty rotas mean empty booking slots.
Send appointment reminders
Automatic emails before each visit, plus optional SMS or WhatsApp.